This tutorial will walk you through the process of using Twine for non-linear digital storytelling. It was last updated in the Fall 2022 for Twine 2.5.1.
Installing Twine
While you can download Twine and use this application locally, there is also an online version that you can use (unless you’re using Internet Explorer which doesn’t play nicely with Twine – but IE is a serious security risk even if you never use it and you should uninstall it anyway) Both the downloads links and the online version can be found at http://twinery.org.
There are no special installation instructions – installing this should be similar to installing any other program on your computer. (NOTE: Mac users may have to go to their systems preferences and security & privacy settings to open the file after download if their security settings won’t allow them to open applications from “unknown” AKA open-source developers.) Twine has themes, just like WordPress and Omeka – we’re using the default Harlowe theme but SugarCube is also a very popular one that lets you add multimedia easily.
Getting started
From the Twine dashboard, click the “+New” button on the upper left hand side of the screen. You’ll need to give it a name and click the “Create” button to finish making your new story.
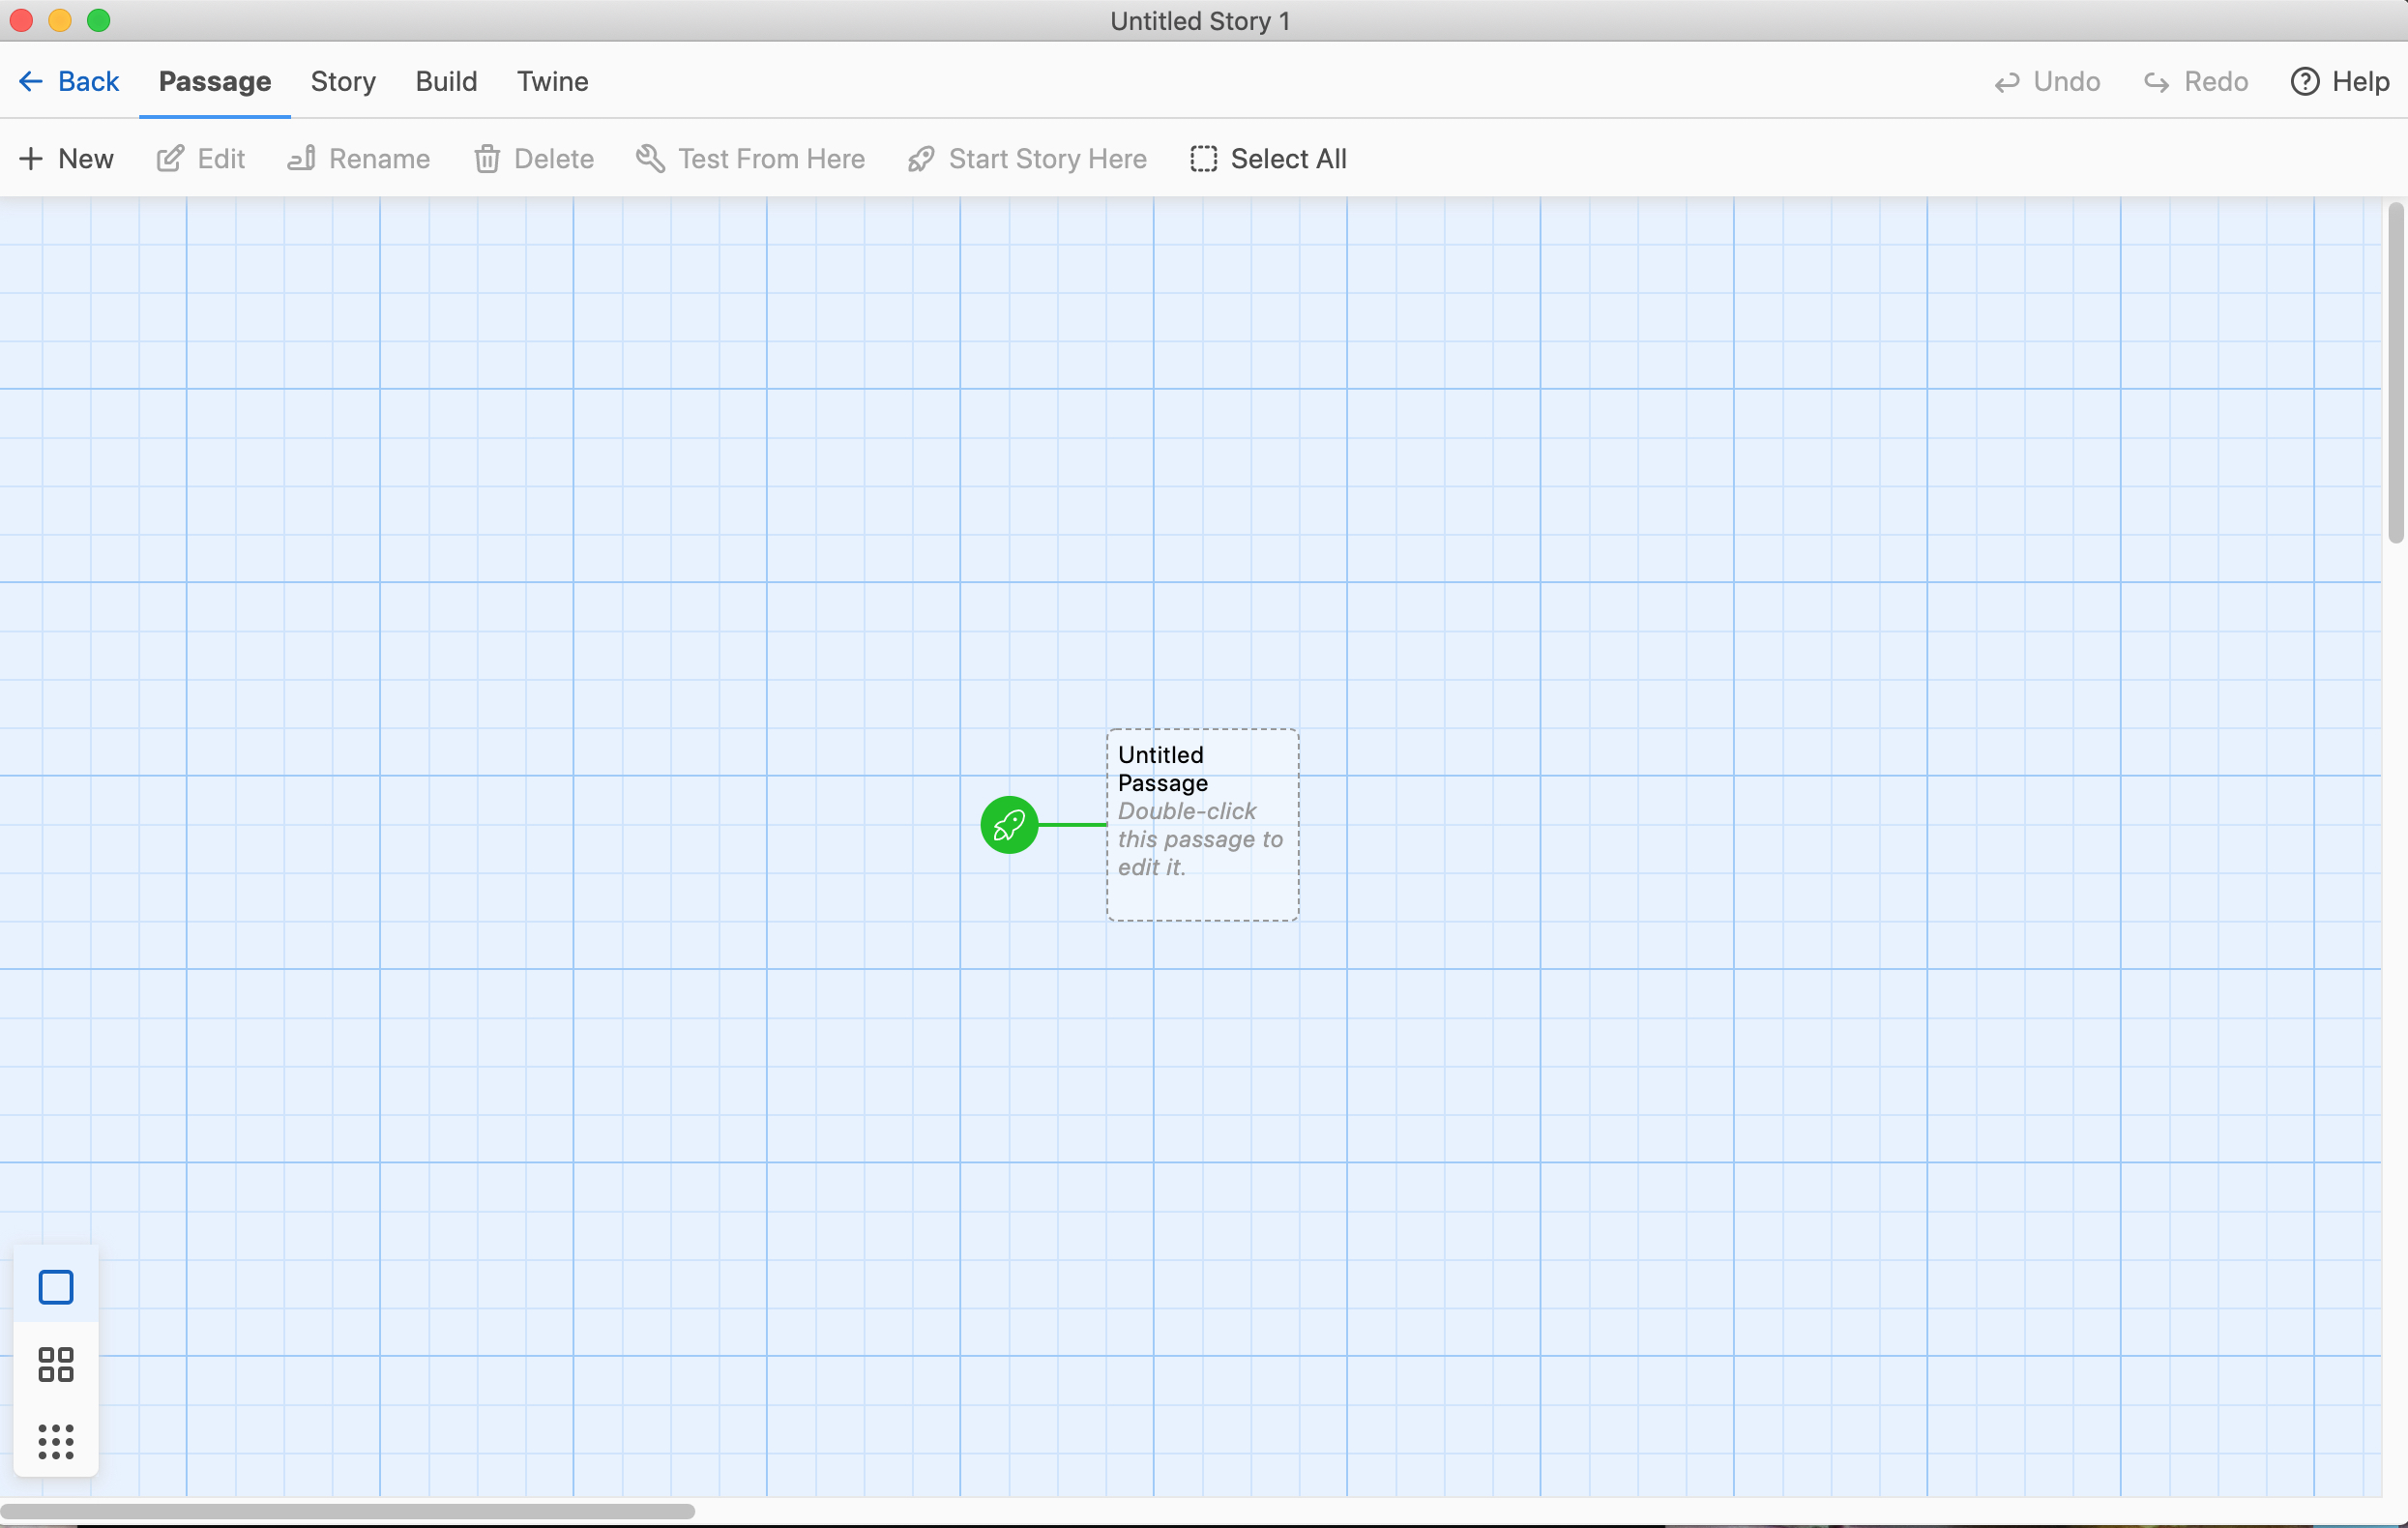
Double-click your mouse on the square (aka story passage) labeled “Untitled Passage” to edit it. Give it a short title like “start” then write however much text you want in the main text box. End your text with “[[you can click here]] or [[alternatively click here]]” then click the “x” in the upper right corner to get out of the box.
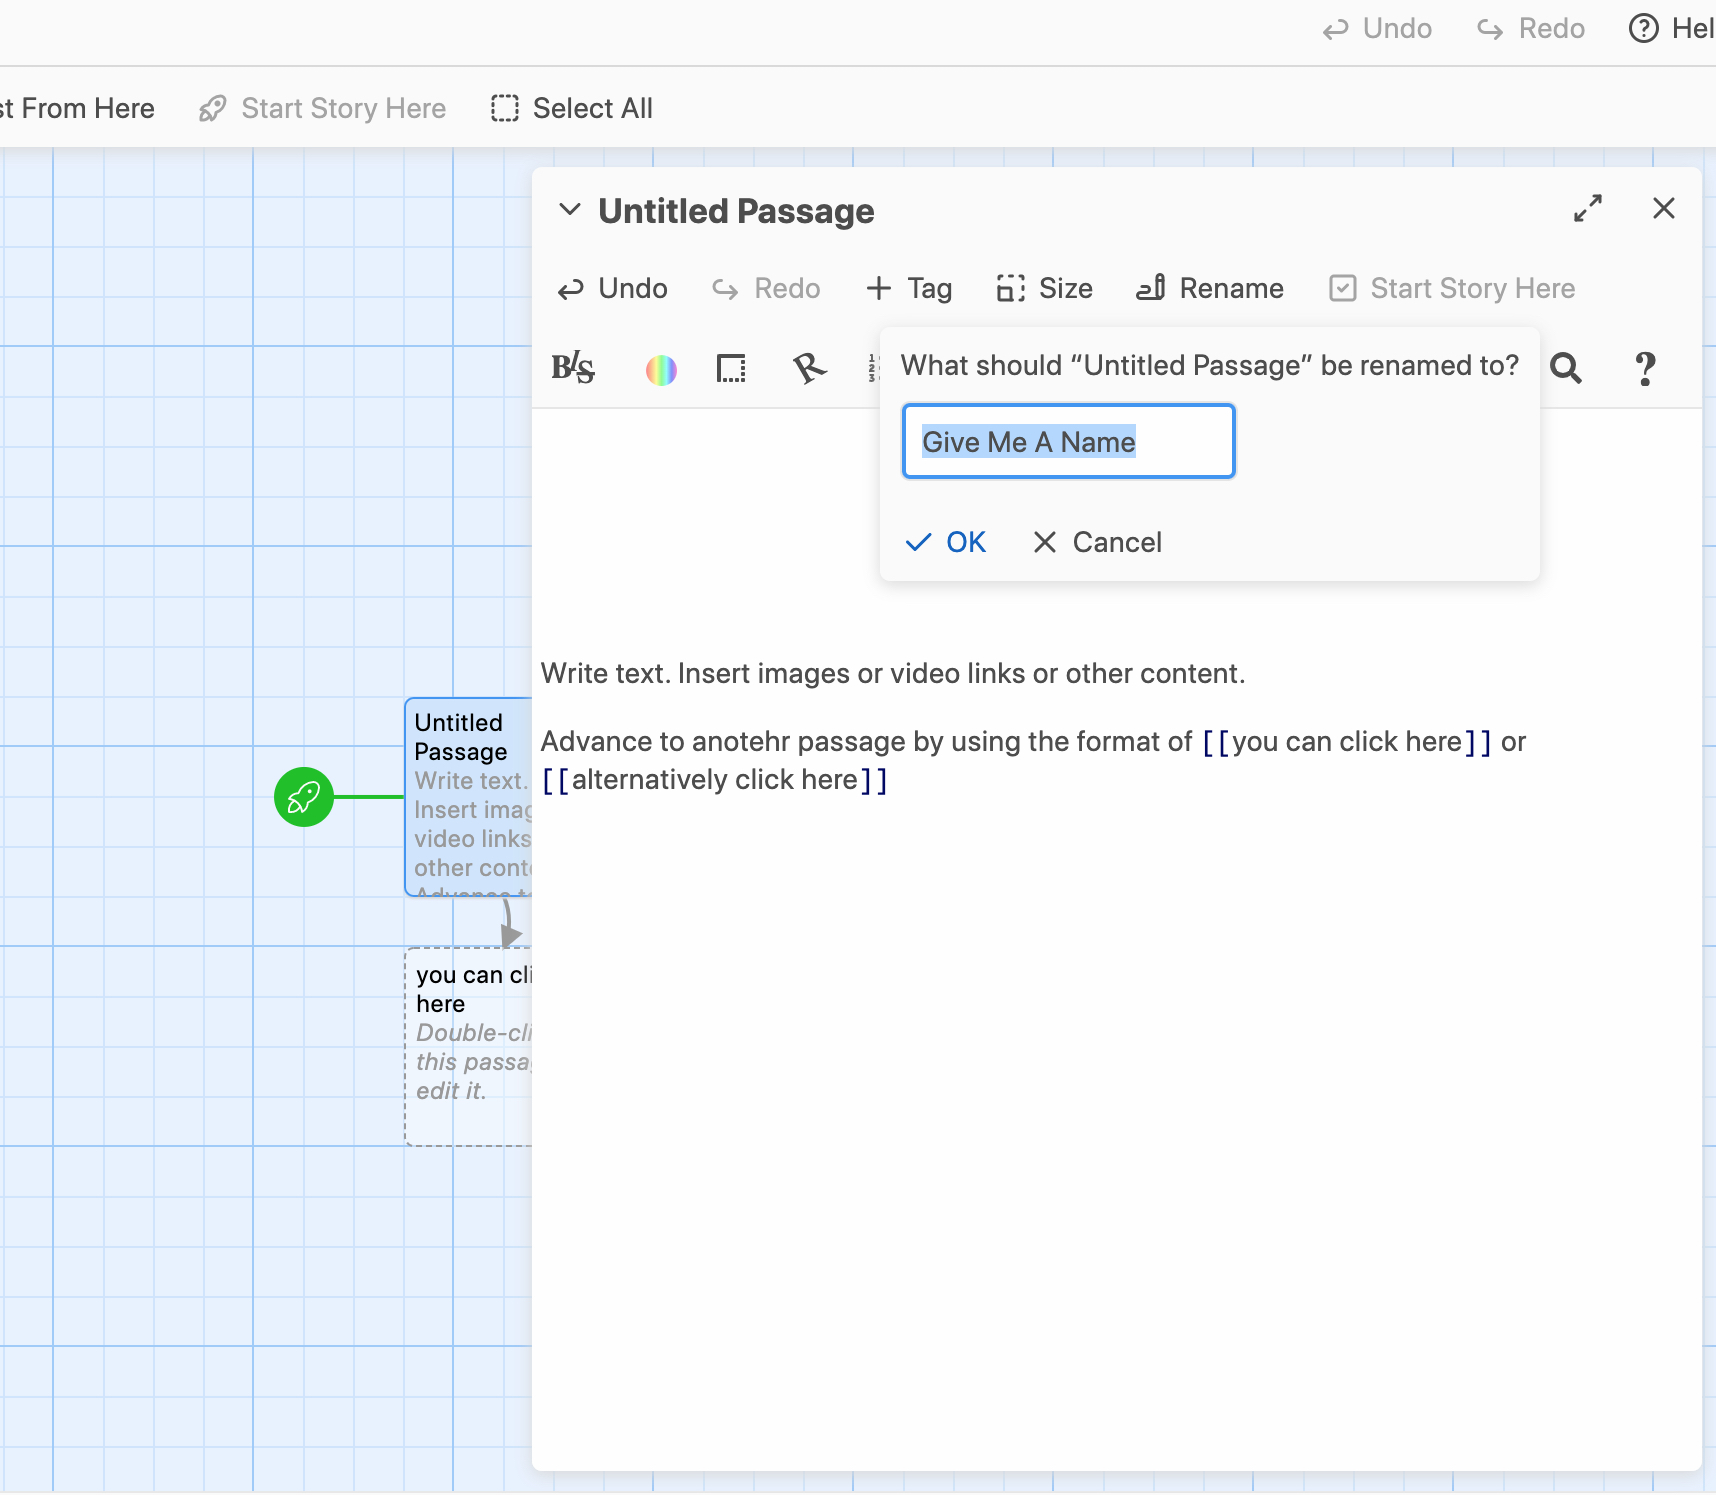
You’ll now see two new passages that are connected to your first passage. They have titles “you can click here” and “alternatively click here” because they were auto-generated when you were typing in the first passage and told Twine to create links to passages named “you can click here” and “alternatively click here” – because those passages didn’t exist yet, Twine created them for you.

You can also use the “+New” button in the upper left hand corner to create a new passage.
Create a few more passages and link them together however you want – here’s an example of a quick story I threw together about DHSI, so you can really see the nonlinear structures you can create.
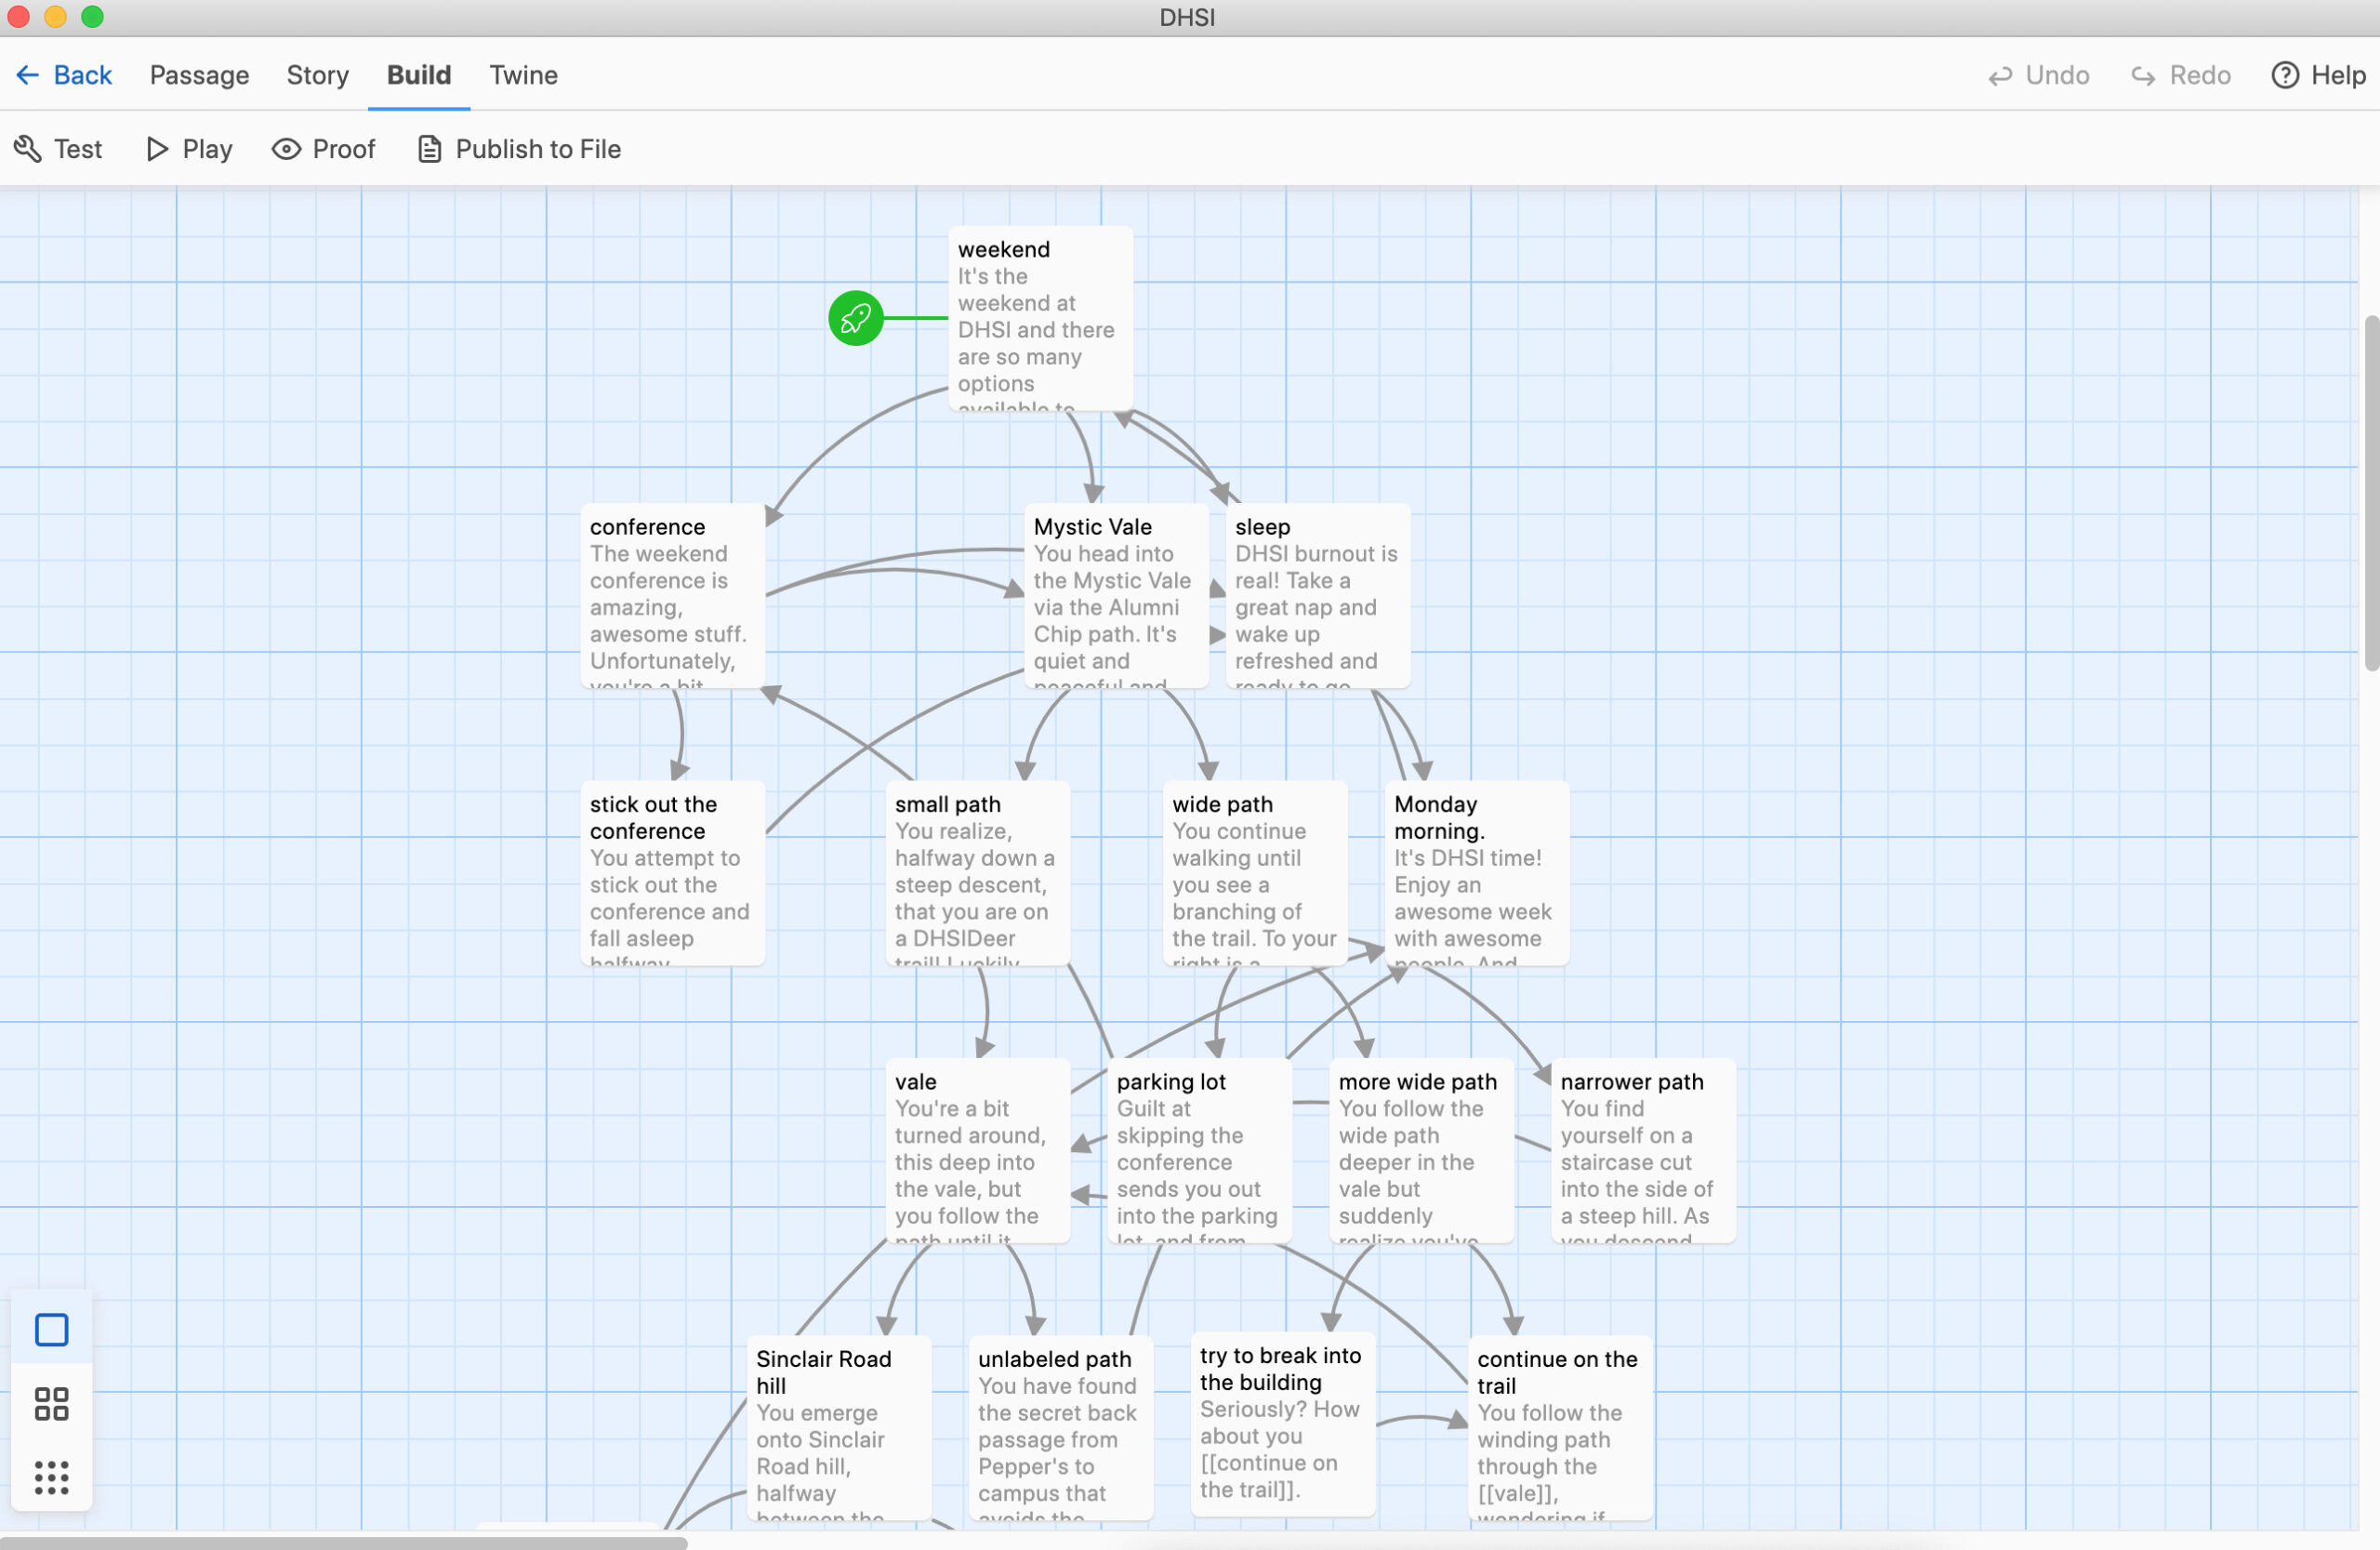
Then go back to your “start” passage and click the “Start story here” button from the top menu. Now you can test-play through your game.
More Advanced Twine Stuff
If you start creating really long passage titles, it might be annoying, especially if you want to link to the same passage from multiple other passages. With the default “[[run away screaming from the dinosaurs]]” method of linking passages, you’ve created a very long passage title of “run away screaming from the dinosaurs”. If you instead want to create a passage title of “run away,” you can use the “->” or “|” to separate out the text your reader sees and the passage name: “[[run away screaming from the dinosaurs->run away]]” or “[[run away screaming from the dinosaurs|run away]]”. Then you can have your reader run away screaming from dinosaurs, tornados, fluffy kittens, etc. in the text but link it all to the same passage where they are running away.
Wish you could bold, italics, underline, etc.? You can use the built-in editor or add those features using something called Markdown which are formatting instructions widely used throughout the web. You can make something **bold** or *italics* or <u>underlined</u>. If you’ve changed to the SugarCube format, you’ll use a variant set of formatting instructions for ”bold” or //italics// or __underlined__.
Want to embed images, videos, or sound? It has to be online already somewhere then just cut-paste in:
<img src=”the URL of your image” width=”500″ height=”300″ alt=”this is where you put alternative text of what’s in the image for people with screen readers“>
<video src=”the URL of your video” width=”640″ height=”480″></video>
(unless it’s a video hosted in a specialty service, in which case follow that service’s embedding instructions. E.g. for a YouTube video, you need to click the share option to get the “embed video” code and cut-paste that in instead)
<audio src=”the URL of your sound effect” autoplay>
You can also generally embed things with iframe, e.g. this embeds a Google map:
<iframe src=”https://www.google.com/maps/d/u/0/embed?mid=1r5yH3HYeqYF969moTaHfPt8e7v99XBGX&ehbc=2E312F” width=”640″ height=”480″></iframe>
Note: the SugarCube theme has way more options for multimedia and would be worth learning/using if you want to do multimedia storytelling with Twine.
Exporting and Importing Your Story
If you’re using the online version of Twine, it does not save your stories on the web – that information is actually saved in your web browser. That means if you switch computers or clear your browsing history, your Twine stories vanish as well! You can get around this by exporting your story and saving it as a file on your computer that you can then save and share. You will also need to export your story from the app version of Twine if you want to move it to another computer, post it to GitHub, email to other people, etc.

From the top menu in either the main dashboard or in the individual story view (seen above), click “Build” then use the option to “Publish to File.”
To import a Twine file into Twine on another computer, from the top menu in the main dashboard click “Library” then use the option to “Import.”
More resources
The Twine wiki:
The Twine Grimoire:
Two other introductory tutorials:
Alternatives
Like the idea of non-linear digital storytelling but don’t like Twine? There are alternative software options to consider, including Inform, Ink, and ChoiceScript, which require varying levels of technical ability but are all well-documented.