This tutorial will walk you through the process of setting up Omeka S on Reclaim Hosting, including how to install modules.
This tutorial was last updated in the Fall 2019. It assumes that you already have a Reclaim Hosting account and custom URL, and that you are using the main URL (www.myname.com or similar) for a different purpose. If you don’t need a subdomain, skip to the second step.
Creating a Subdomain
For those of you who would like to set up an Omeka S site through your Reclaim Hosting account, you need to decide if you would like to have a special domain name for the Omeka S site (e.g. www.myprojectname.com) – you can purchase one through Reclaim Hosting if you’d like to go this route. Alternatively, you can create a subdomain – this is the part of the domain name set off from your main domain by a period. E.g. historyarthistory.gmu.edu is a subdomain of gmu.edu.

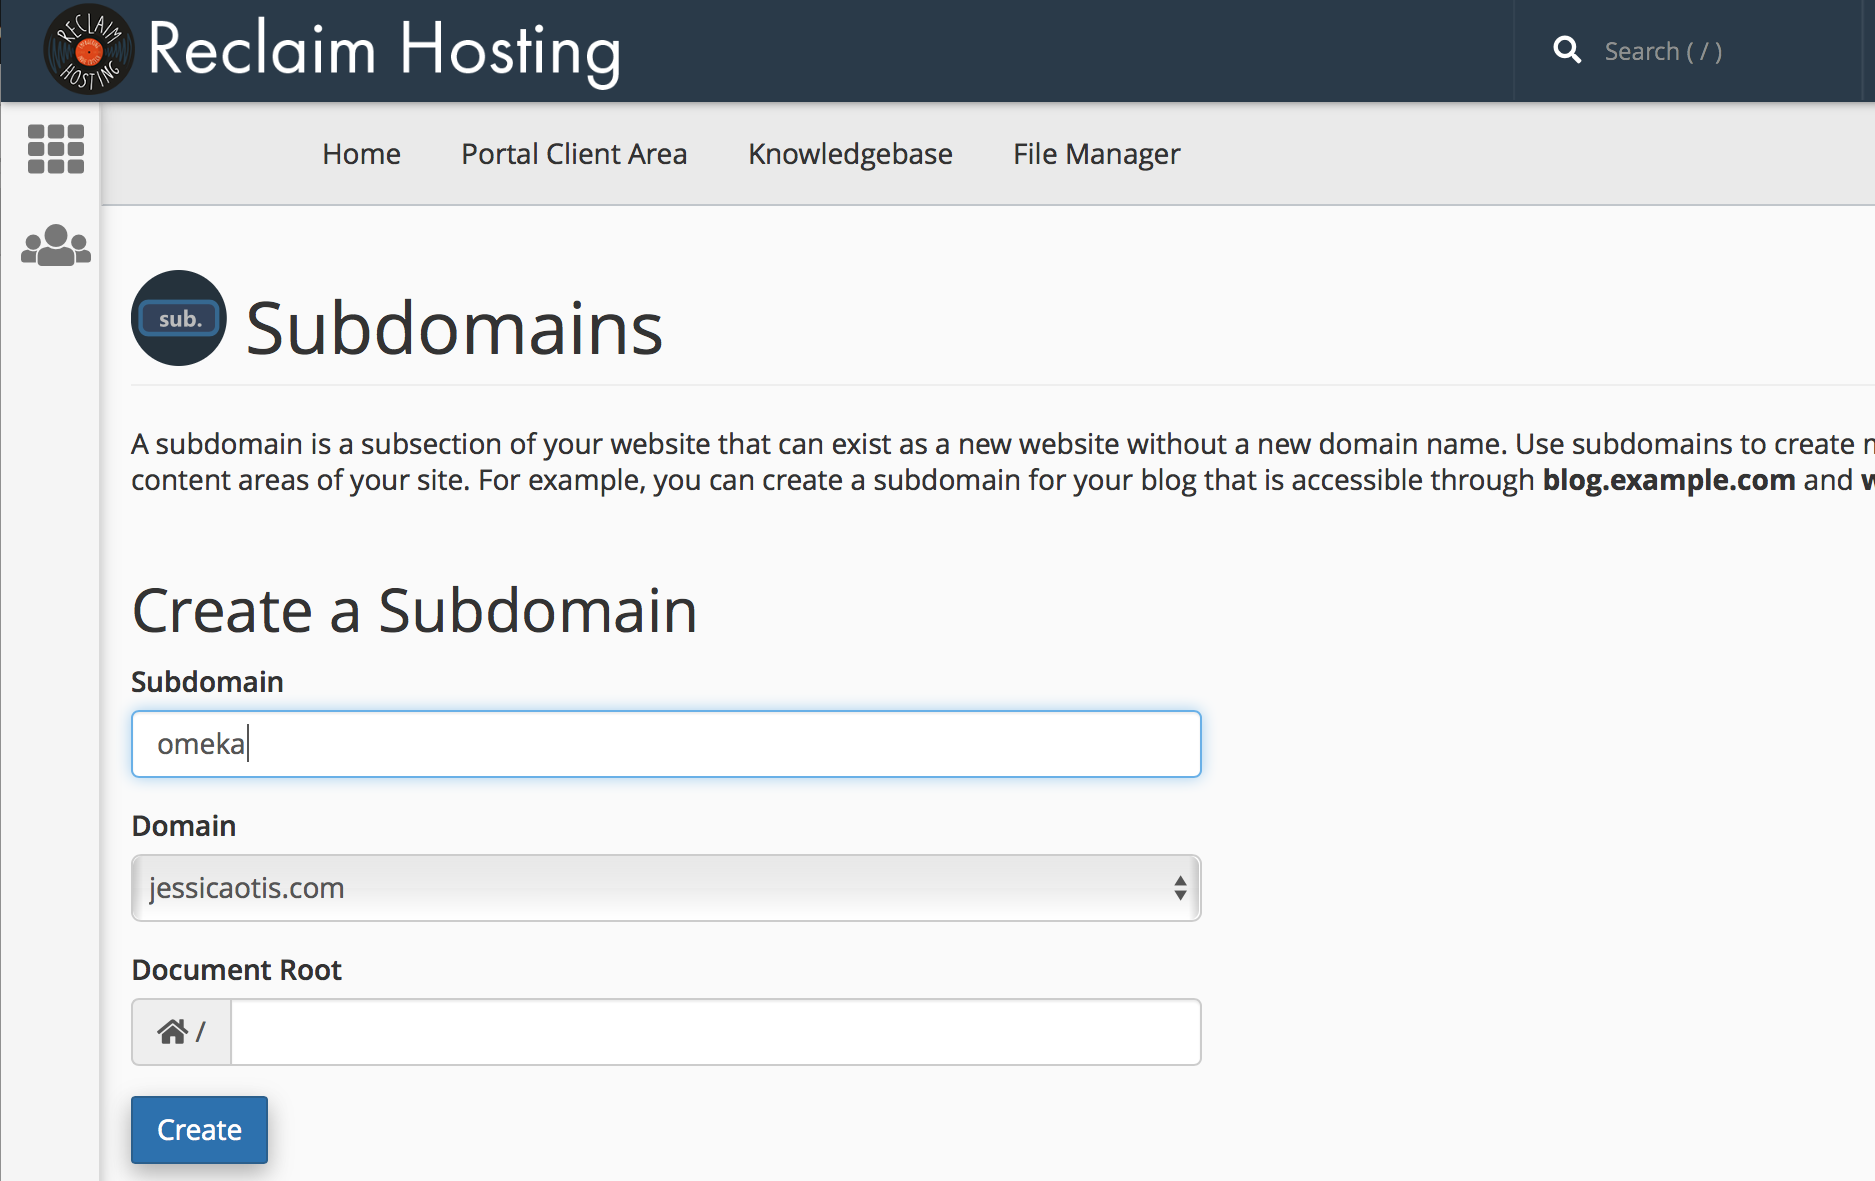
Log in to your Reclaim Hosting account and select cPanel to go to the screen that we used to install our WordPress blogs. You’ll notice the top set of icons is the “Applications” while the second set of icons is labeled “Domains” and has an icon labeled “Subdomains”. Click that to be taken to a screen that lets you create or modify a subdomain. I’ve created one called “omeka” so the entire subdomain URL is omeka.jessicaotis.com. Give yours a name and click “Create.”
Installing the Core of Omeka S
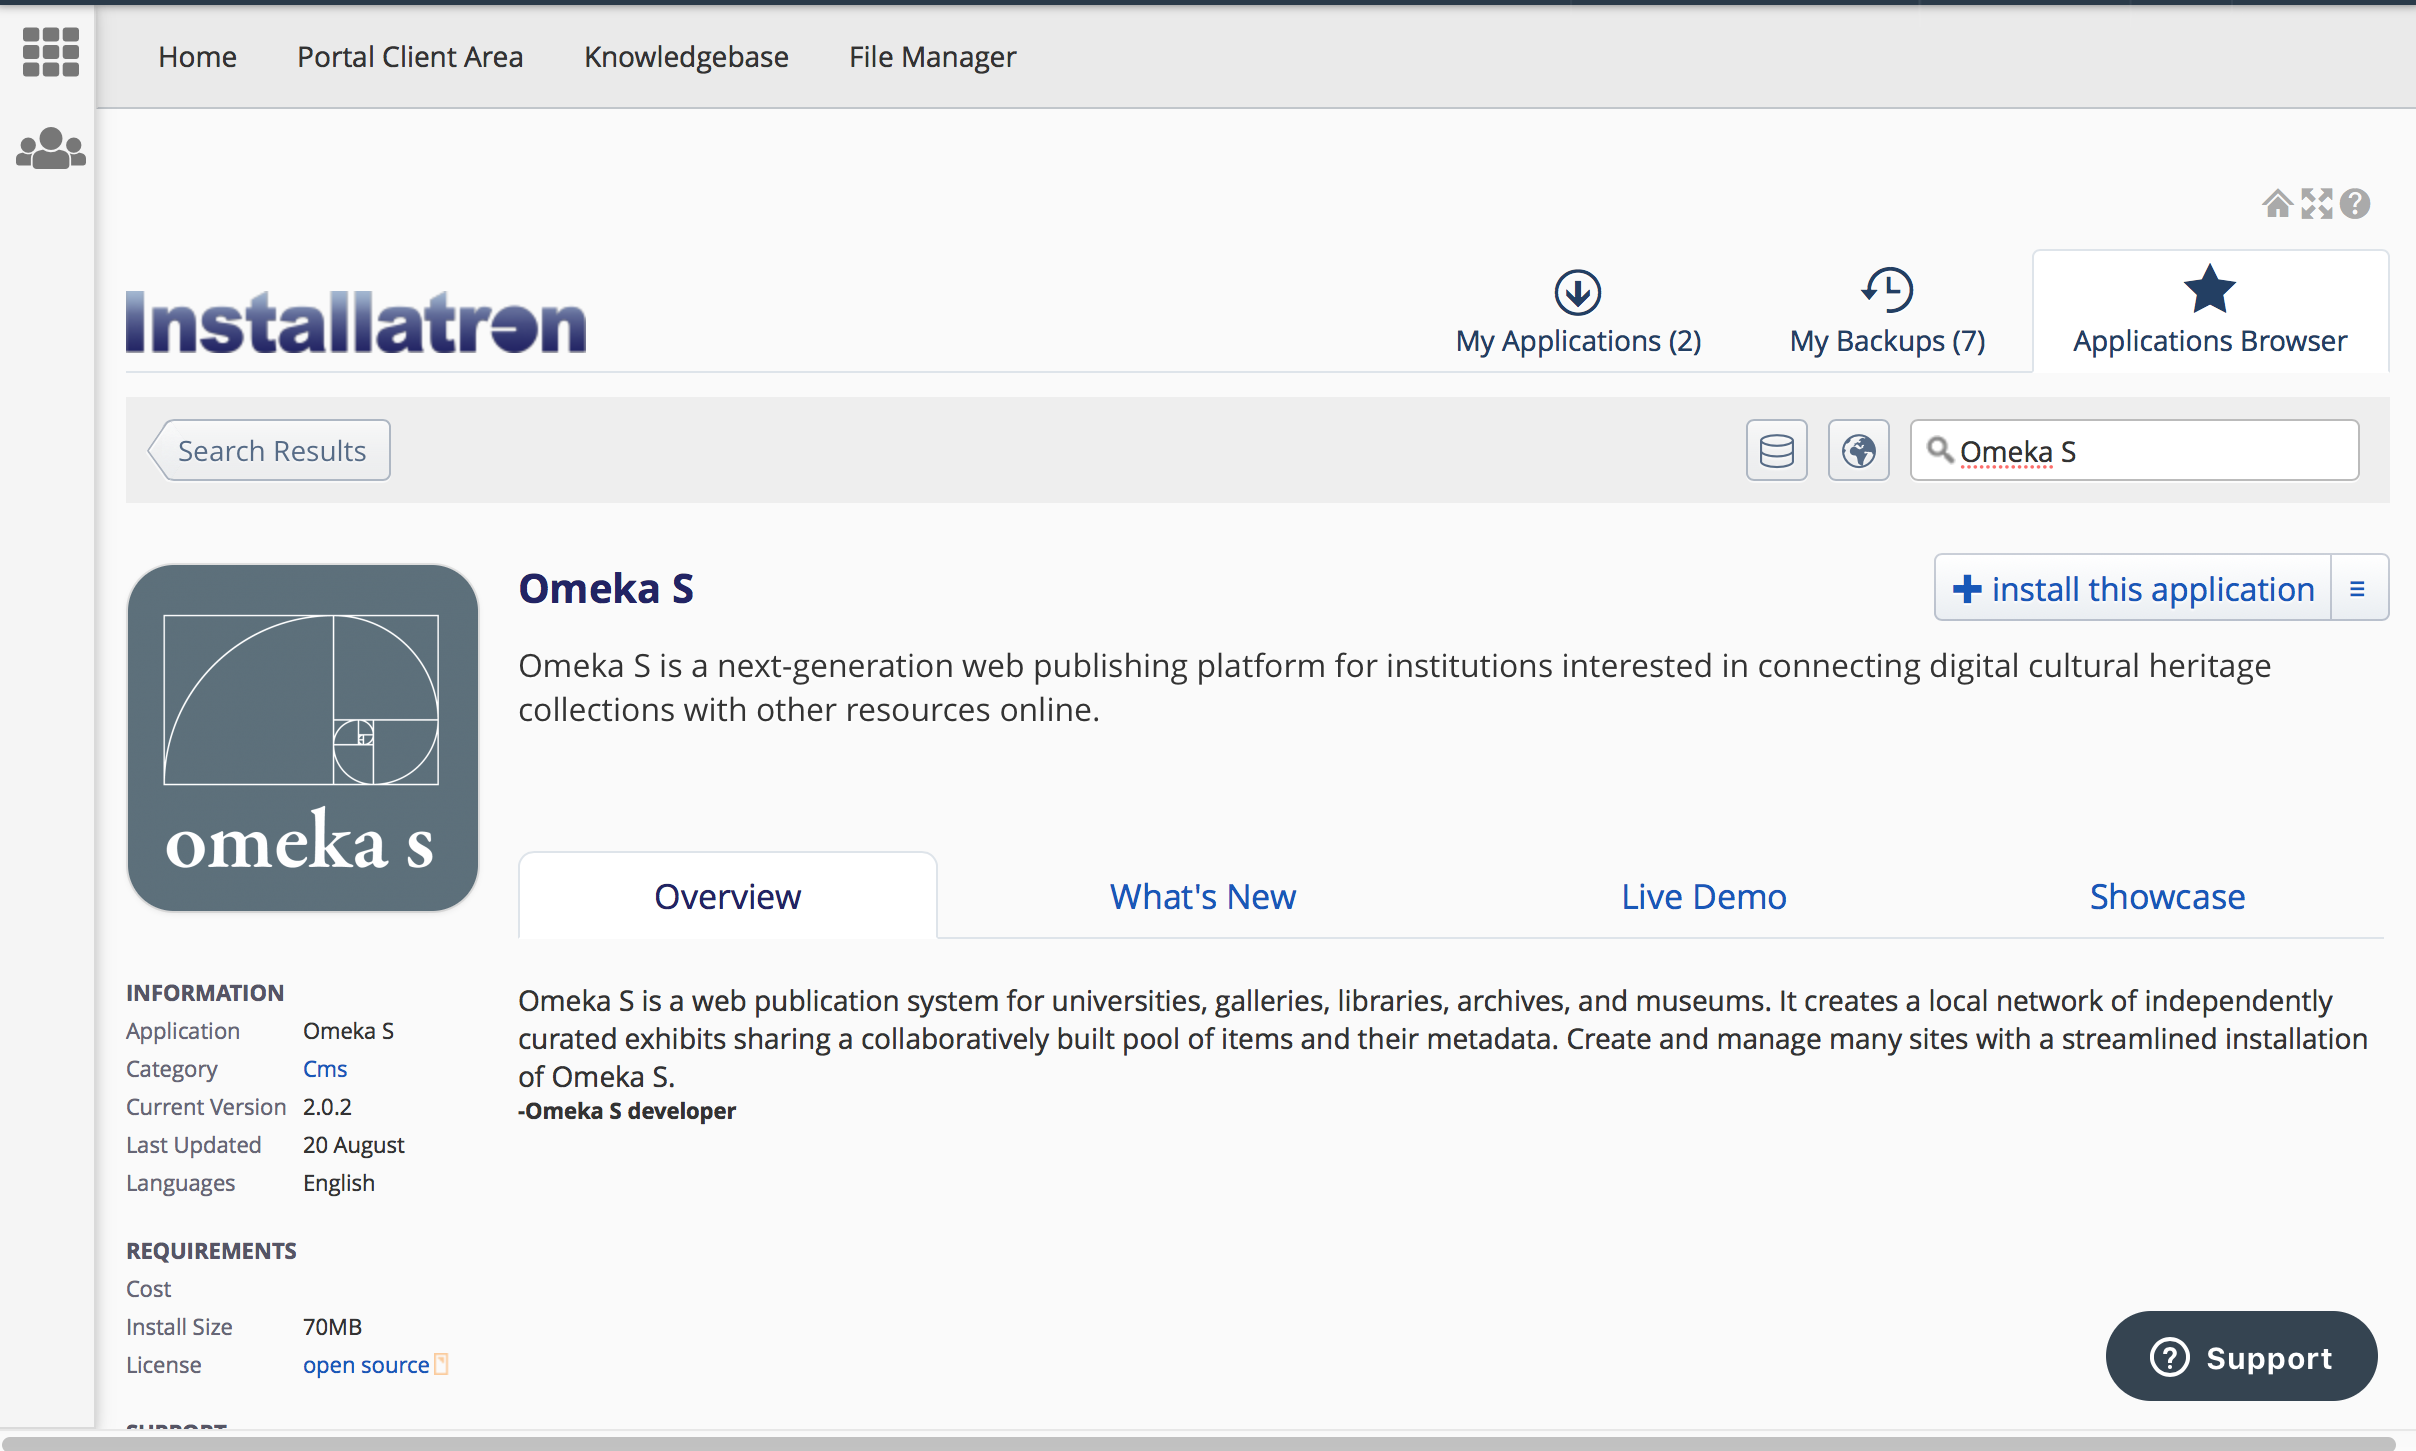
Now if you navigate back to the cPanel screen, you can click the icon labeled “All Applications”. From there you will search for “Omeka S” icon and click “install this application.”
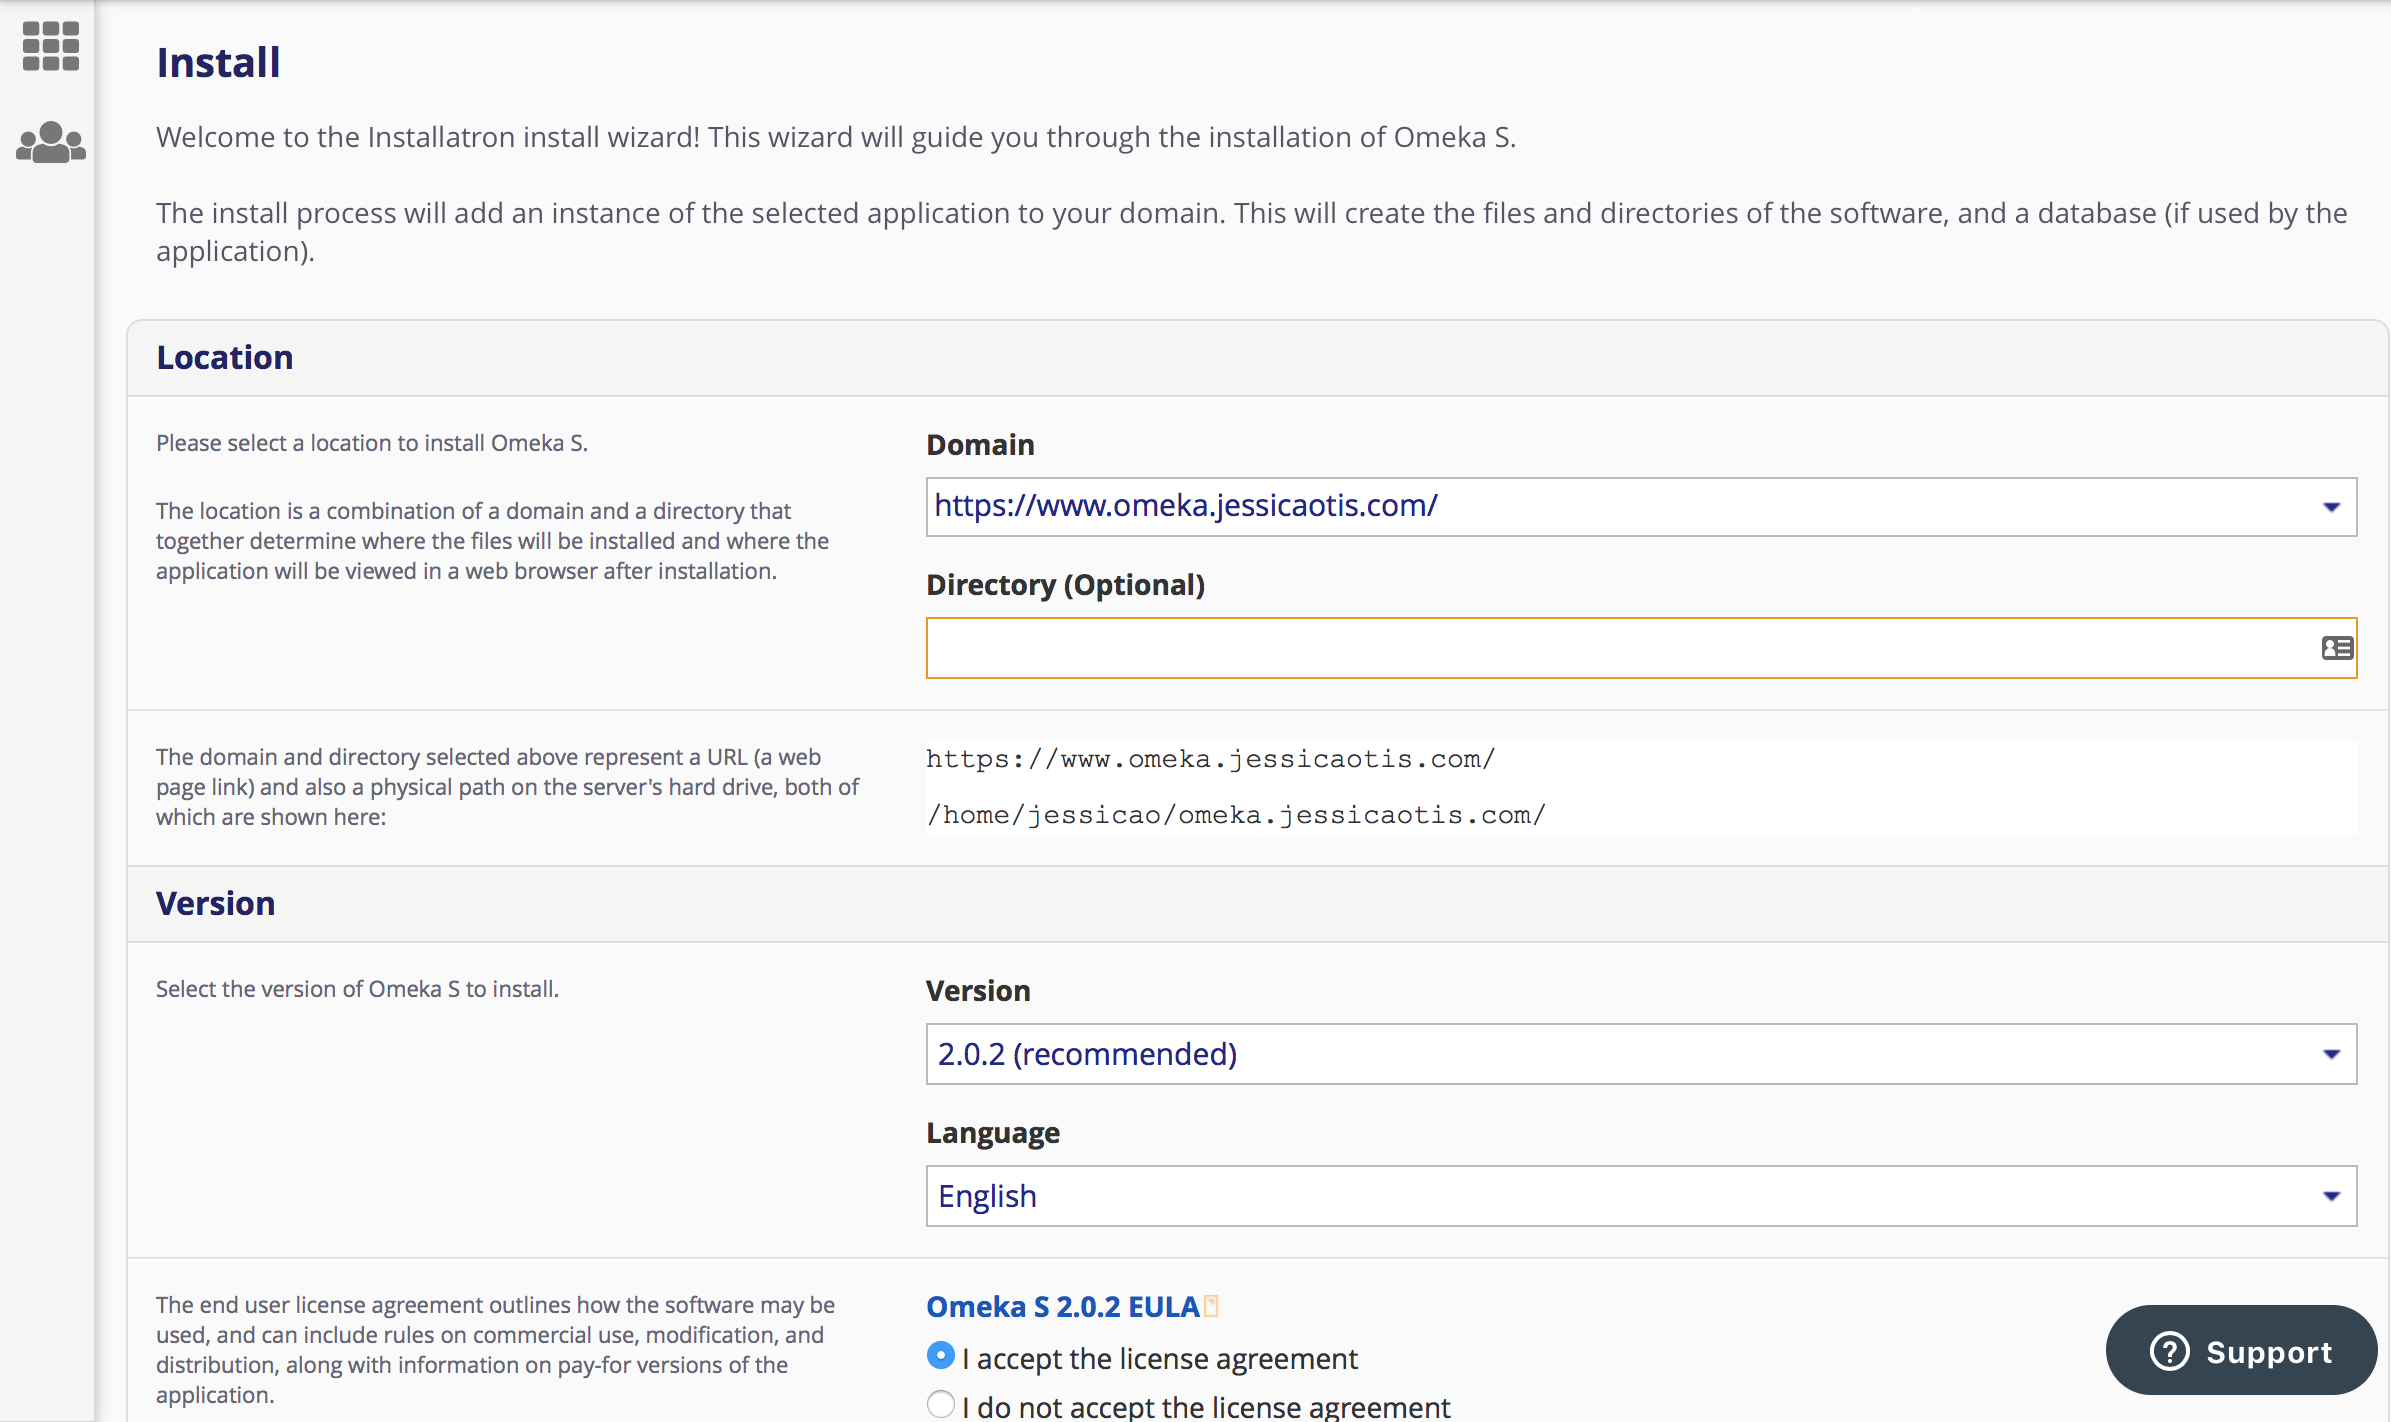
The next screen will ask you what URL you would like to connect to this Omeka S site. If you are using a subdomain, DO NOT TELL IT YOUR MAIN SITE URL or it will make it impossible to access the content currently at that URL. Instead, search through the dropdown menu under the word “Domain” to find the subdomain you just created and select that. Make sure you save the automatically generated username and password, and give your Omeka S site a title before telling it to finish installing.
Installing Modules
In most of the Content Management Systems we are using (e.g. WordPress), installing a plug-in or module to expand the functionality of the CMS is easily done through the interface. For Omeka S, however, you need to download the module files from the internet, then upload them onto the server where your Omeka S core install lives – specifically, into the module folder of your Omeka S install.
Start by going to https://omeka.org/s/modules/ and choosing one or more modules to download. It will download to your computer as a zip file.
Now, return to your Reclaim Hosting account cPanel and click on the menu item “File Manager.”

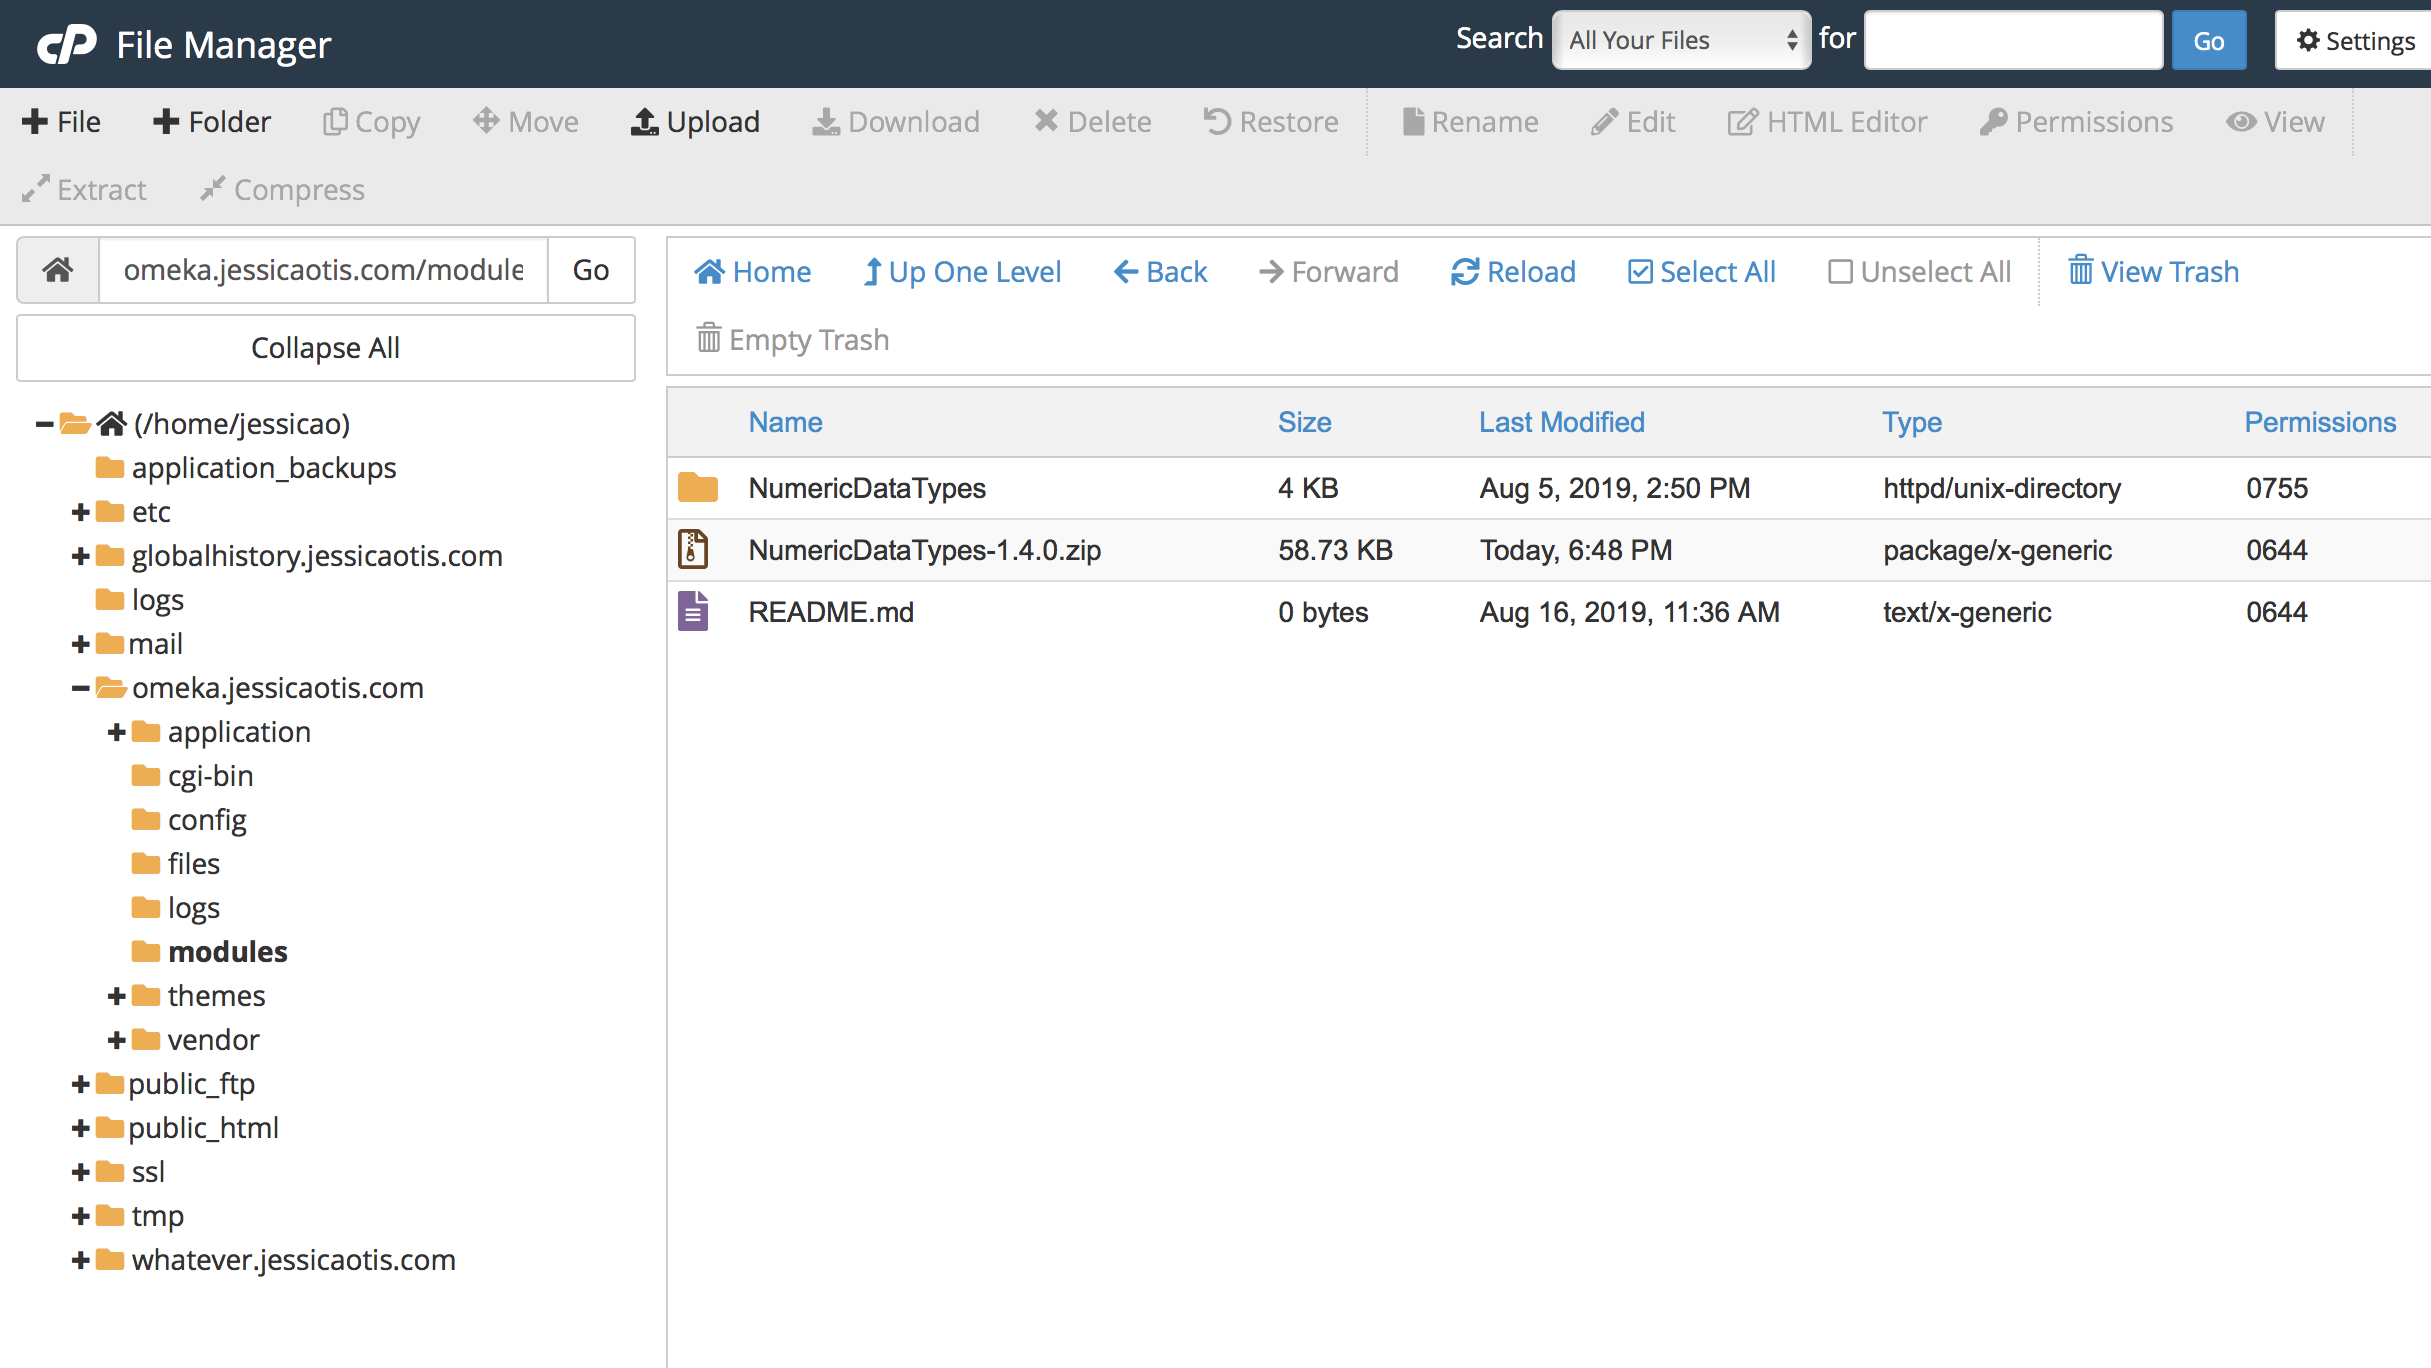
You will be taken to a screen that looks something like this.

 You navigate this file structure similarly to the file structure on your computer (assuming you are running a computer with a graphical user interface such as Mac OS X or Windows). Click on the subdomain name where your Omeka S install lives – in my case, omeka.jessicaotis.com – and then click on the folder named “modules.” The click the “Upload” button at the top of the screen. You’ll be taken to a drag-and-drop upload screen where you can upload as many modules as you want. When you’re done, click the link at the bottom to go back to your mail file manager view.
The last step is to click on the zip file then use the “Extract” button in the upper left-hand corner to unzip the module files. You can leave the zip file on the server or delete it, whichever you prefer. Repeat for each of your modules.
Activating Modules
Now that you’ve installed your Omeka S modules, you’ll want to activate them so you can actually use them. Log in to your Omeka S site using the username and passwords you set up while installing Omeka S above. (If you go to your site URL, it will give you a link redirecting you to the Admin dashboard and login page).
On the left side of your screen, click “modules” and you will see a list of all the modules you have installed on the server. From here on out, it’s similar to other CMS systems – just click on the button to activate them and you’re ready to go.
More resources
Omeka documentation: