This tutorial will walk you through some basics of using and customizing a WordPress site. It assumes you have already set up an instance of WordPress, either on Reclaim Hosting (see their tutorial) or by signing up for a site on WordPress.com. It was last updated in the Fall of 2020 for my HIST 696 Clio Wired graduate class.
Some Background
WordPress is a content management system that powers about 1/3 of sites on the internet and almost 60% of sites generated using some sort of software (as opposed to, say, hand-coding HTML like it’s 1999). Because it is open-source software, it’s relatively easy for people to customize how its basic content is displayed (themes) and to create custom extensions of its basic functionality (plug-ins).
While what you see visiting the URL of your site (the “frontend”) after your initial WordPress set-up may seem very basic – a couple of pages of fake text and images – there’s actually a more complicated database set-up that happens on the “backend” of the website. This is used to make it easier for you to add new content, change the site’s appearance, and add functionality. Say, for example, you have a 118-episode history podcast. If you had a hand-coded HTML site and wanted to change site description on the top of the page, you would have to update code on literally hundreds of pages. Using WordPress, you can change it in one spot and that change would populate to every single page in the site.
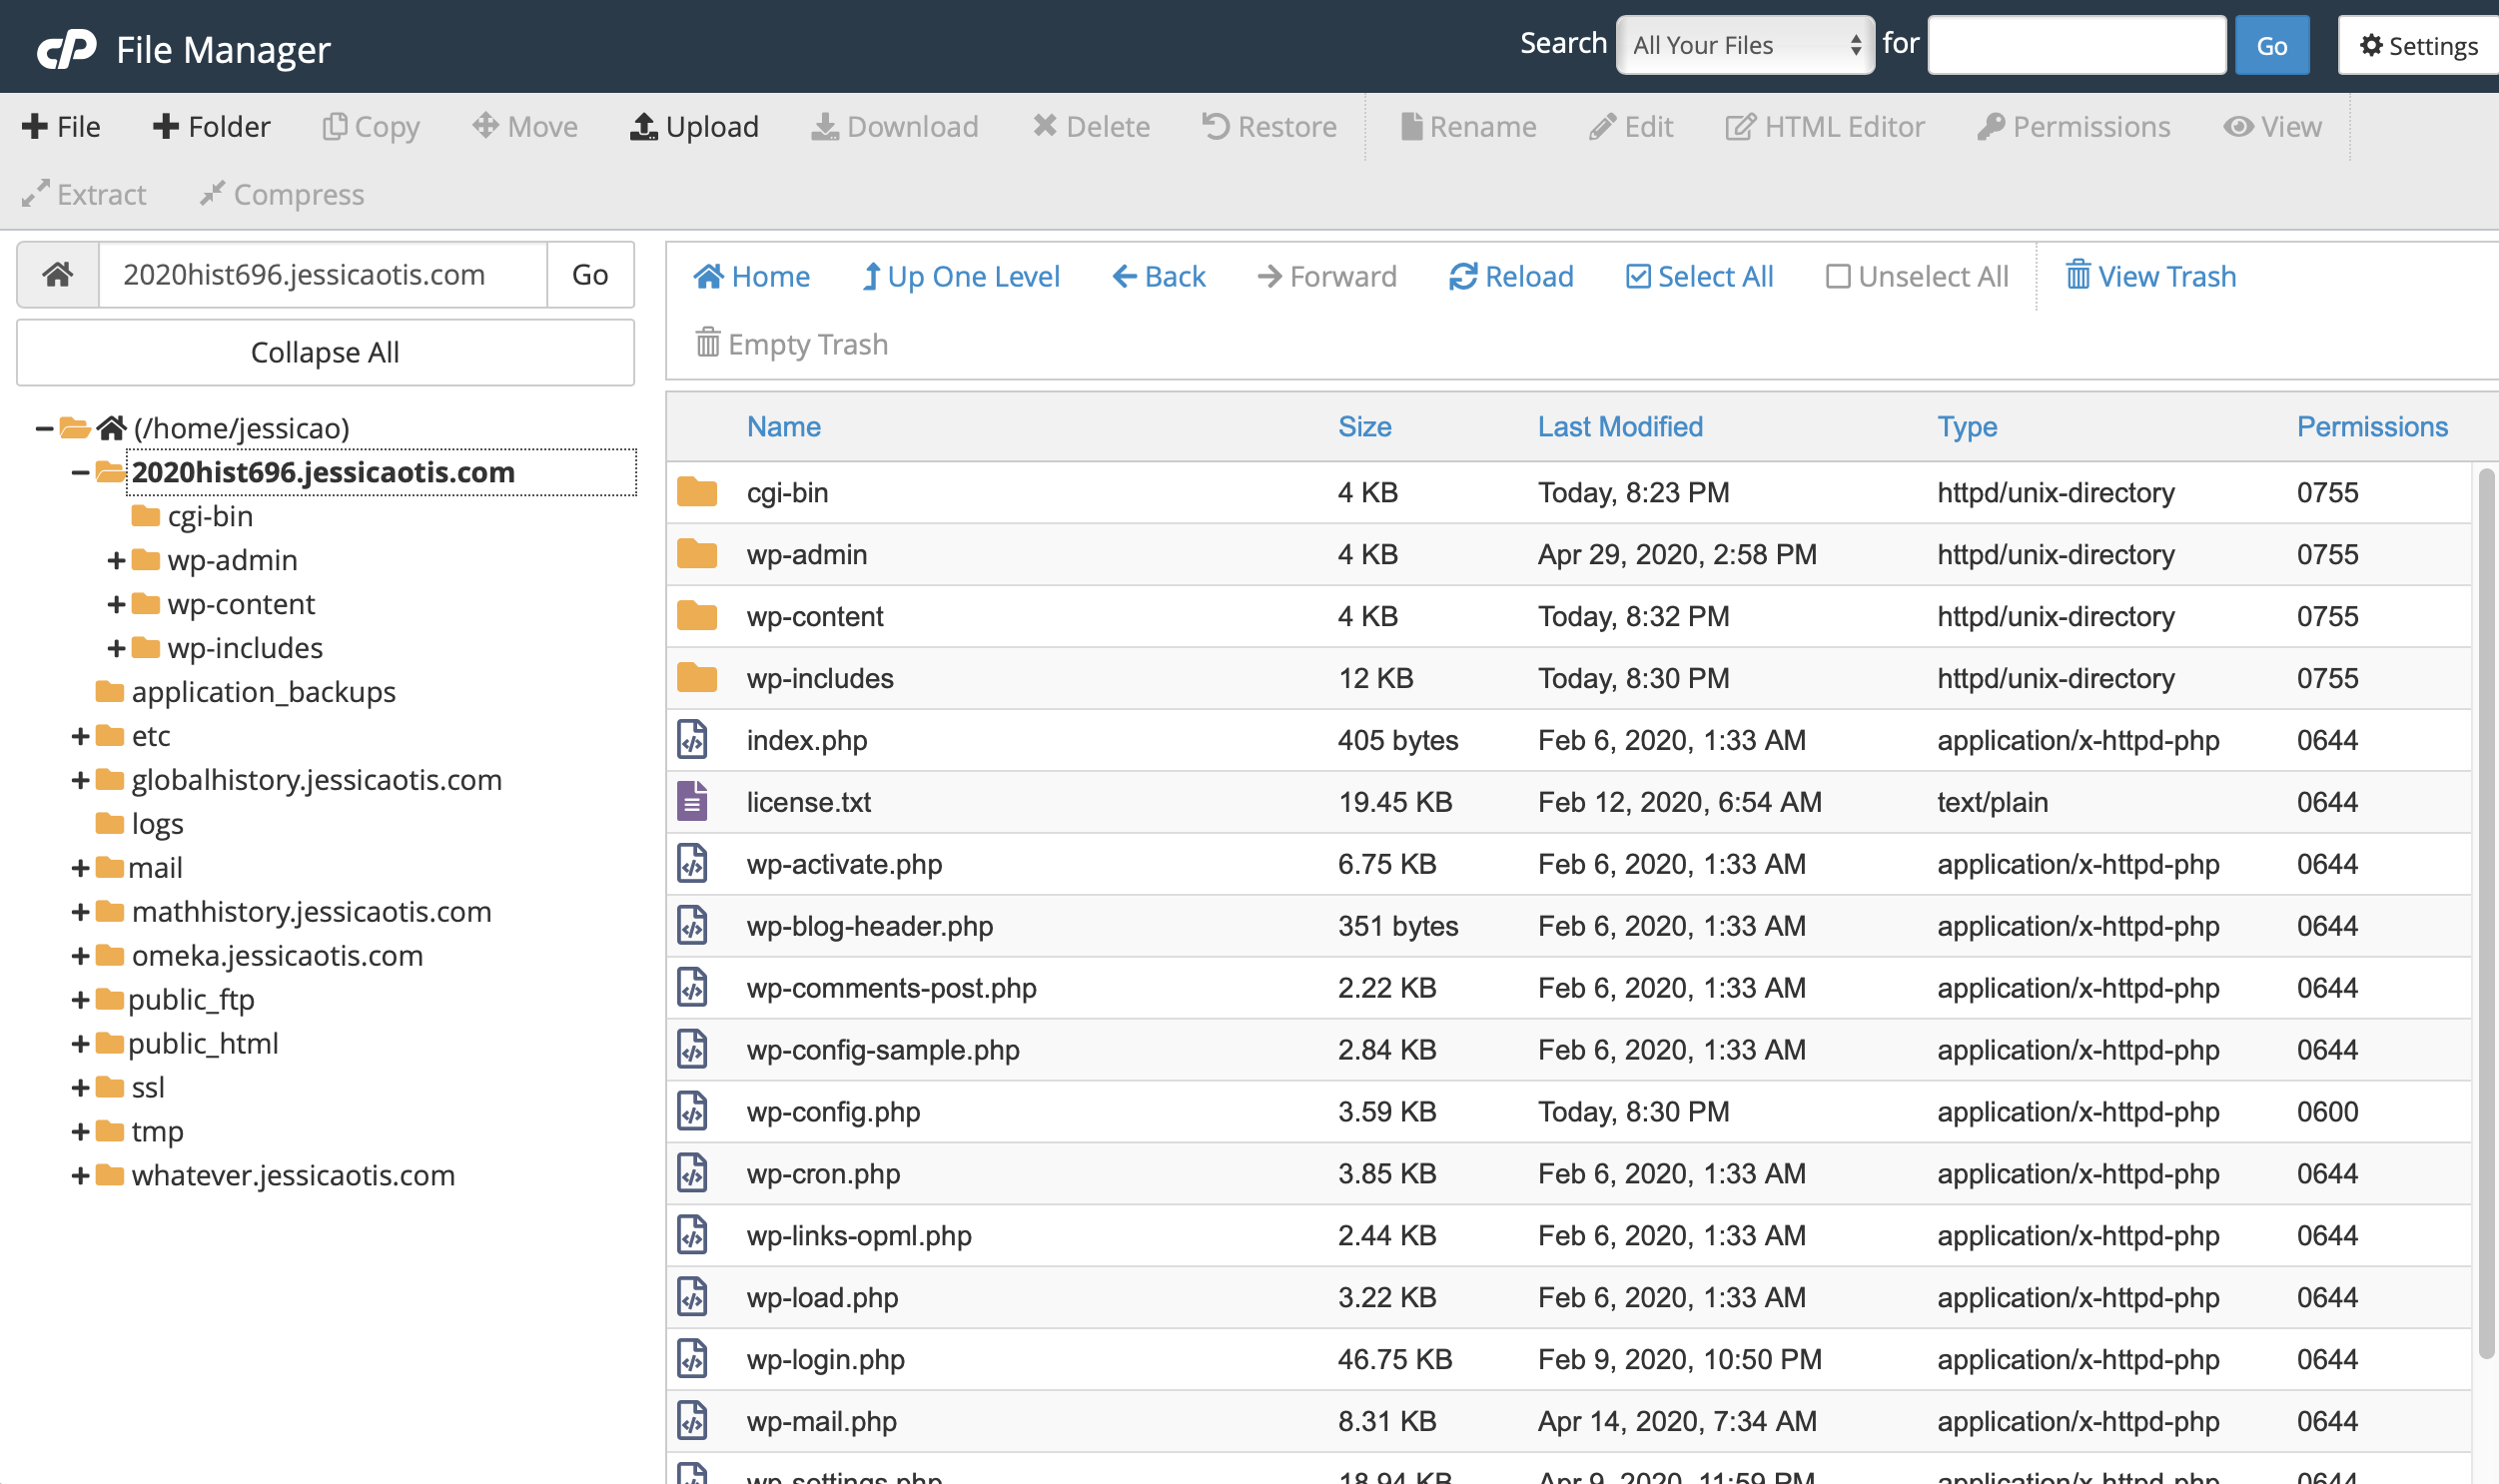
Above, you can see what the Reclaim Hosting file manager looks like for a WordPress site (2020hist696.jessicaotis.com). Note the lefthand side is a list of folders and the righthand side is a list of files in the selected folder, not unlike what you might see in the folder directory lists on your computer. The difference is that the folders and files on your computer are generally only accessible locally, while these are placed on a server for more widespread access.
The default way to get into the backend of a WordPress site (to add content, change its appearance, or add functionality) is to simply add “/wp-admin” to the site’s URL, which will take you to the site’s log-in page. Many sites, especially those that deal with financial information, will disable this standard URL to discourage hacking but for our purposes choosing a strong password and using a security plug-in (see below) should be sufficient to secure our sites.
Site Content
There are three main types of content you can add to a WordPress site: pages, (blog) posts, and media.
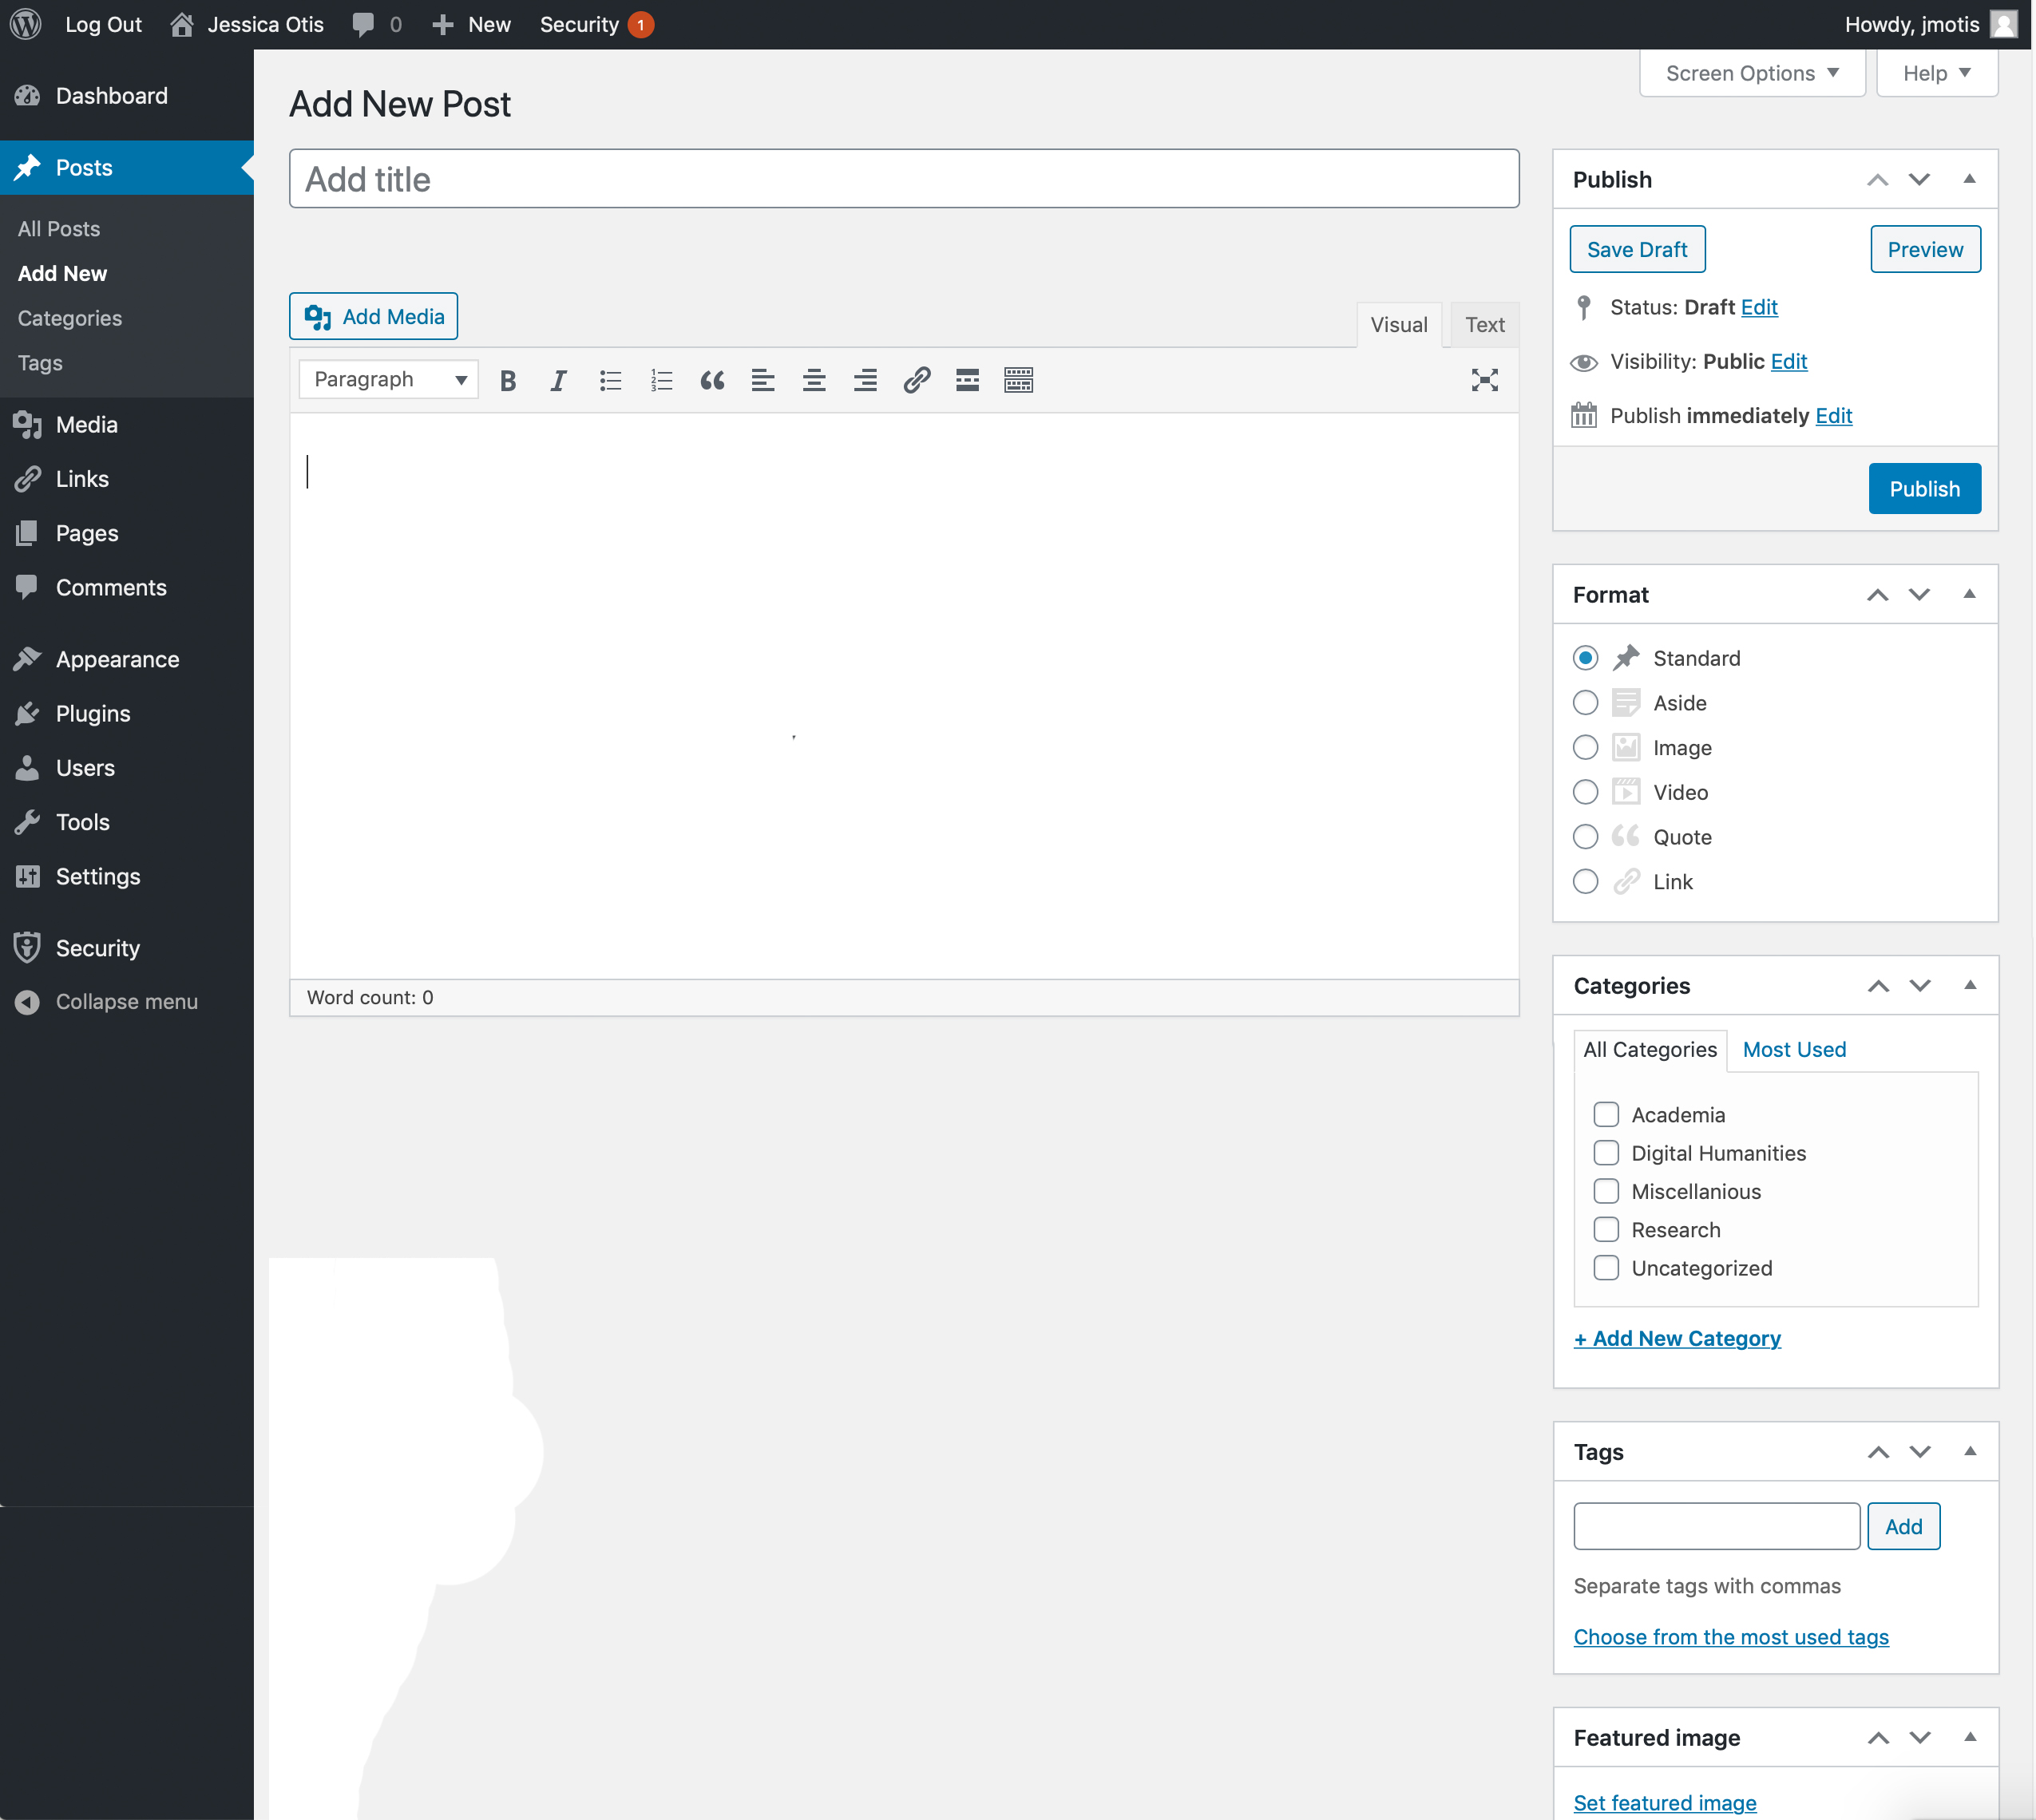
Pages and posts are very similar – content buckets where you can add text, images, video, and other content. The main difference between them is that posts are intended to be aggregated in a blog feed that scrolls backwards in time, and which can be searched by date, category, and tags. The image below is what adding a new post looks like in the “Classical Editor,” which I prefer for a variety of reasons. WordPress now has a more “drag-and-drop” Gutenberg Editor which comes standard – if you like the appearance of this editor, you’ll need to add the Classic Editor plug-in. But in both editors, you can save drafts, preview changes, set posts to be public or private, and choose a date for them to be published. You can also categorize posts – which are automatically labeled as Uncategorized if you don’t put them in a category – and add tags.
Try creating a brief, first blog post to say hello to the world!
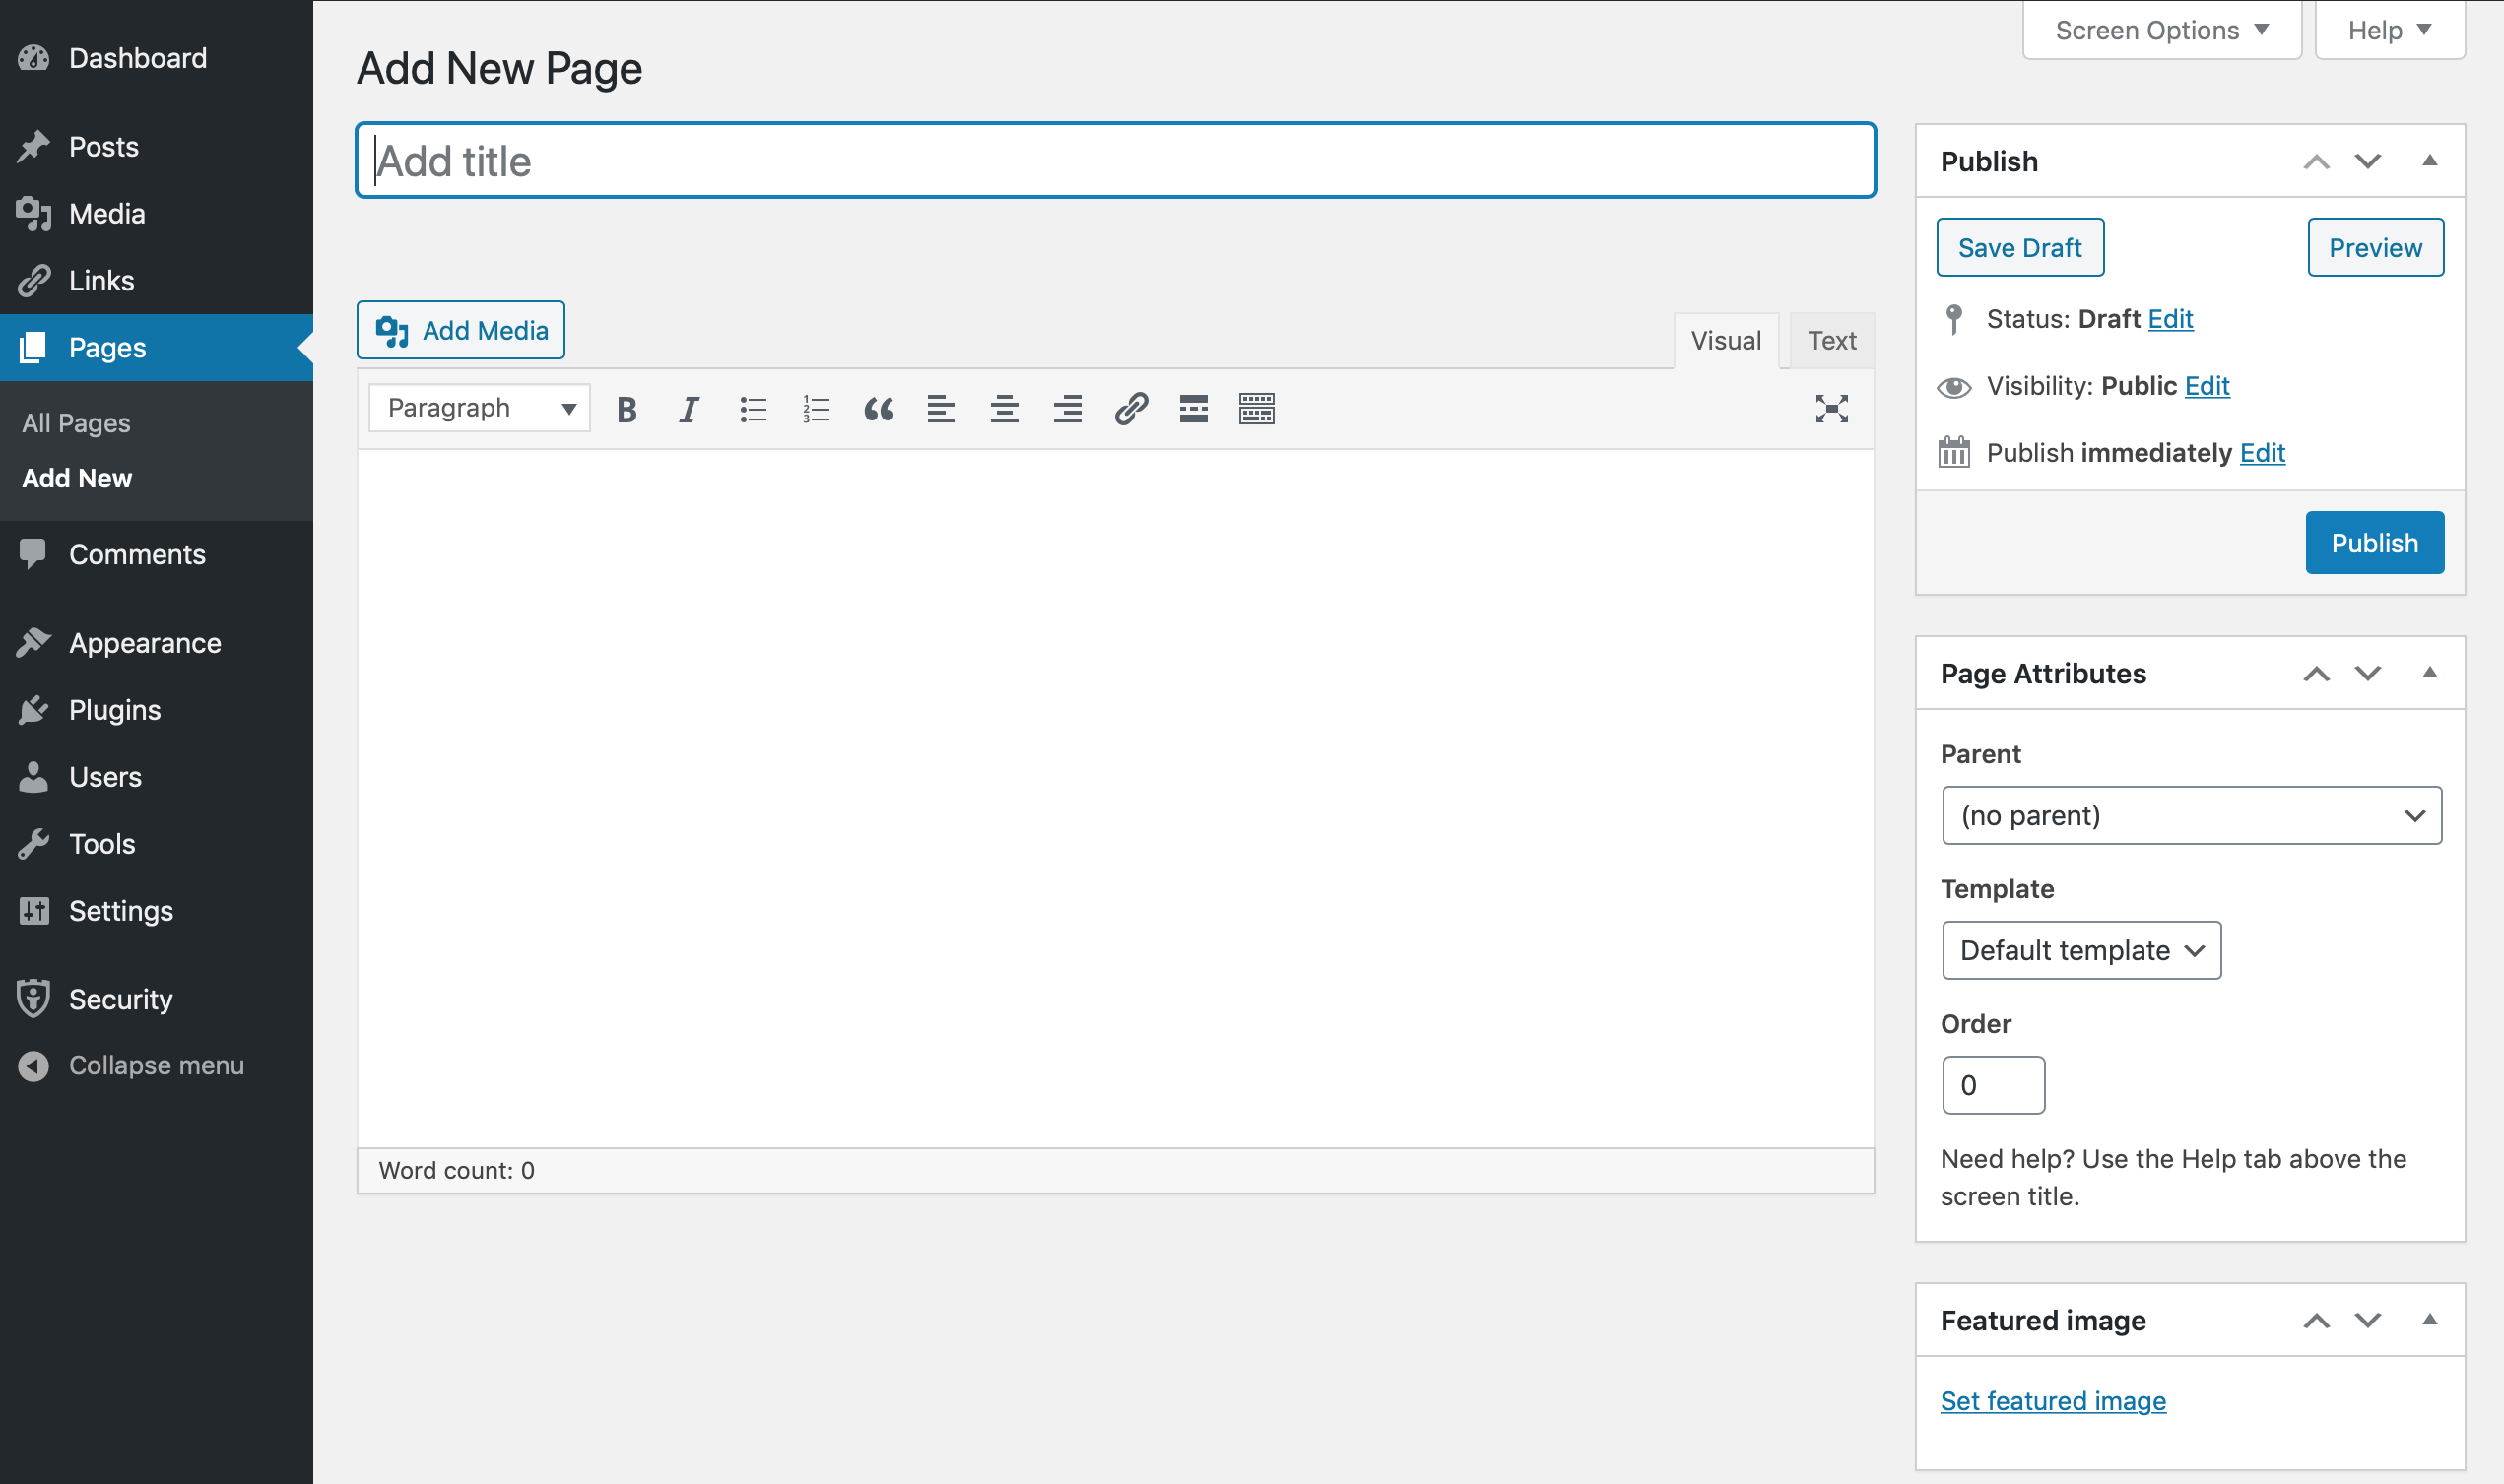
By contrast pages are intended to be stand-alone webpages that can be organized in a hierarchical, tree-like structure (like folders with subfolders on your computer). You can see that the (again Classic Editor) editing interface looks very similar to blog posts, but instead of choosing a category and adding tags, you choose a “parent page” in the sidebar. This is perfect for About pages, CVs, and similar content.
At minimum, you will want to create an About page for yourself. If you want to have your About page be the default landing page for your website (see below), you will also need to create a second page where your blog post feed will be displayed.
Last, but not least, you can add media to your site. From the editing interface, you can actually click the “add media” button or you can navigate to the Media menu item on the left sidebar. When uploading an image, you’ll need to add some metadata (including “alt-text” for images to ensure your site can be read by screen-readers) and then you’ll have a series of choices as to how to insert it into posts and pages including size, orientation on the page, whether you’ll have a caption, etc.
Expanding Your Design Options: Themes
One of the main things that helps you differentiate your site from all the other sites is your choice of theme and how you customize it. From the left-hand menu bar on your dashboard, select “Appearance < Themes” to be taken to the page where you can add new themes and choose which theme you’d like to activate (or apply to your site). Browse popular themes and see what catches your fancy or search for features you know you want (accessibility ready, featured image header, etc.)

Once you’ve chosen a theme, you’ll want to go to the “Appearance < Customize” to start mixing things up. The options here can vary a bit by theme, but important ones include “Site Identity” (which is where I set the name “Jessica Otis” and the tagline “Historian. Mathematician. Digital Humanist”); “Colors” (where you get to change up the colors”); “Header Image” (where I uploaded the image of people waiting to get into the British Library which features prominently on my site); and “Menus” (where I set up the menu you see above that image, including links to six pages). Last, but not least, there will generally be something called “Homepage Settings” which lets you choose whether the landing page for your site will be the page that shows the list of your most recent blog posts or a different, static page.
WordPress is designed to let you experiment and see what the results of your choices would be before publishing them, so make sure you click the publish button in the upper left hand corner after you make changes you like (or navigate away without clicking that button if you don’t like what you were doing.)
Take some time to customize your site – get rid of the defaults and make it your own!
Expanding Your Functionality: Plugins
The other important place to begin customizing your site is with plug-ins. If you install WordPress on Reclaim Hosting, it will install a few plug-ins to start with but you can and should add your own as well. Click “Plugins < Add New” in the left-hand menu bar to start searching for things you’d like to add. I recommend you 1) only add plug-ins that have thousands of Active Installations (popular plug-ins) and 2) only add plug-ins that have been updated recently (well-maintained plug-ins) to ensure you’re they’re good quality plug-ins that won’t cause problems for you down the line.
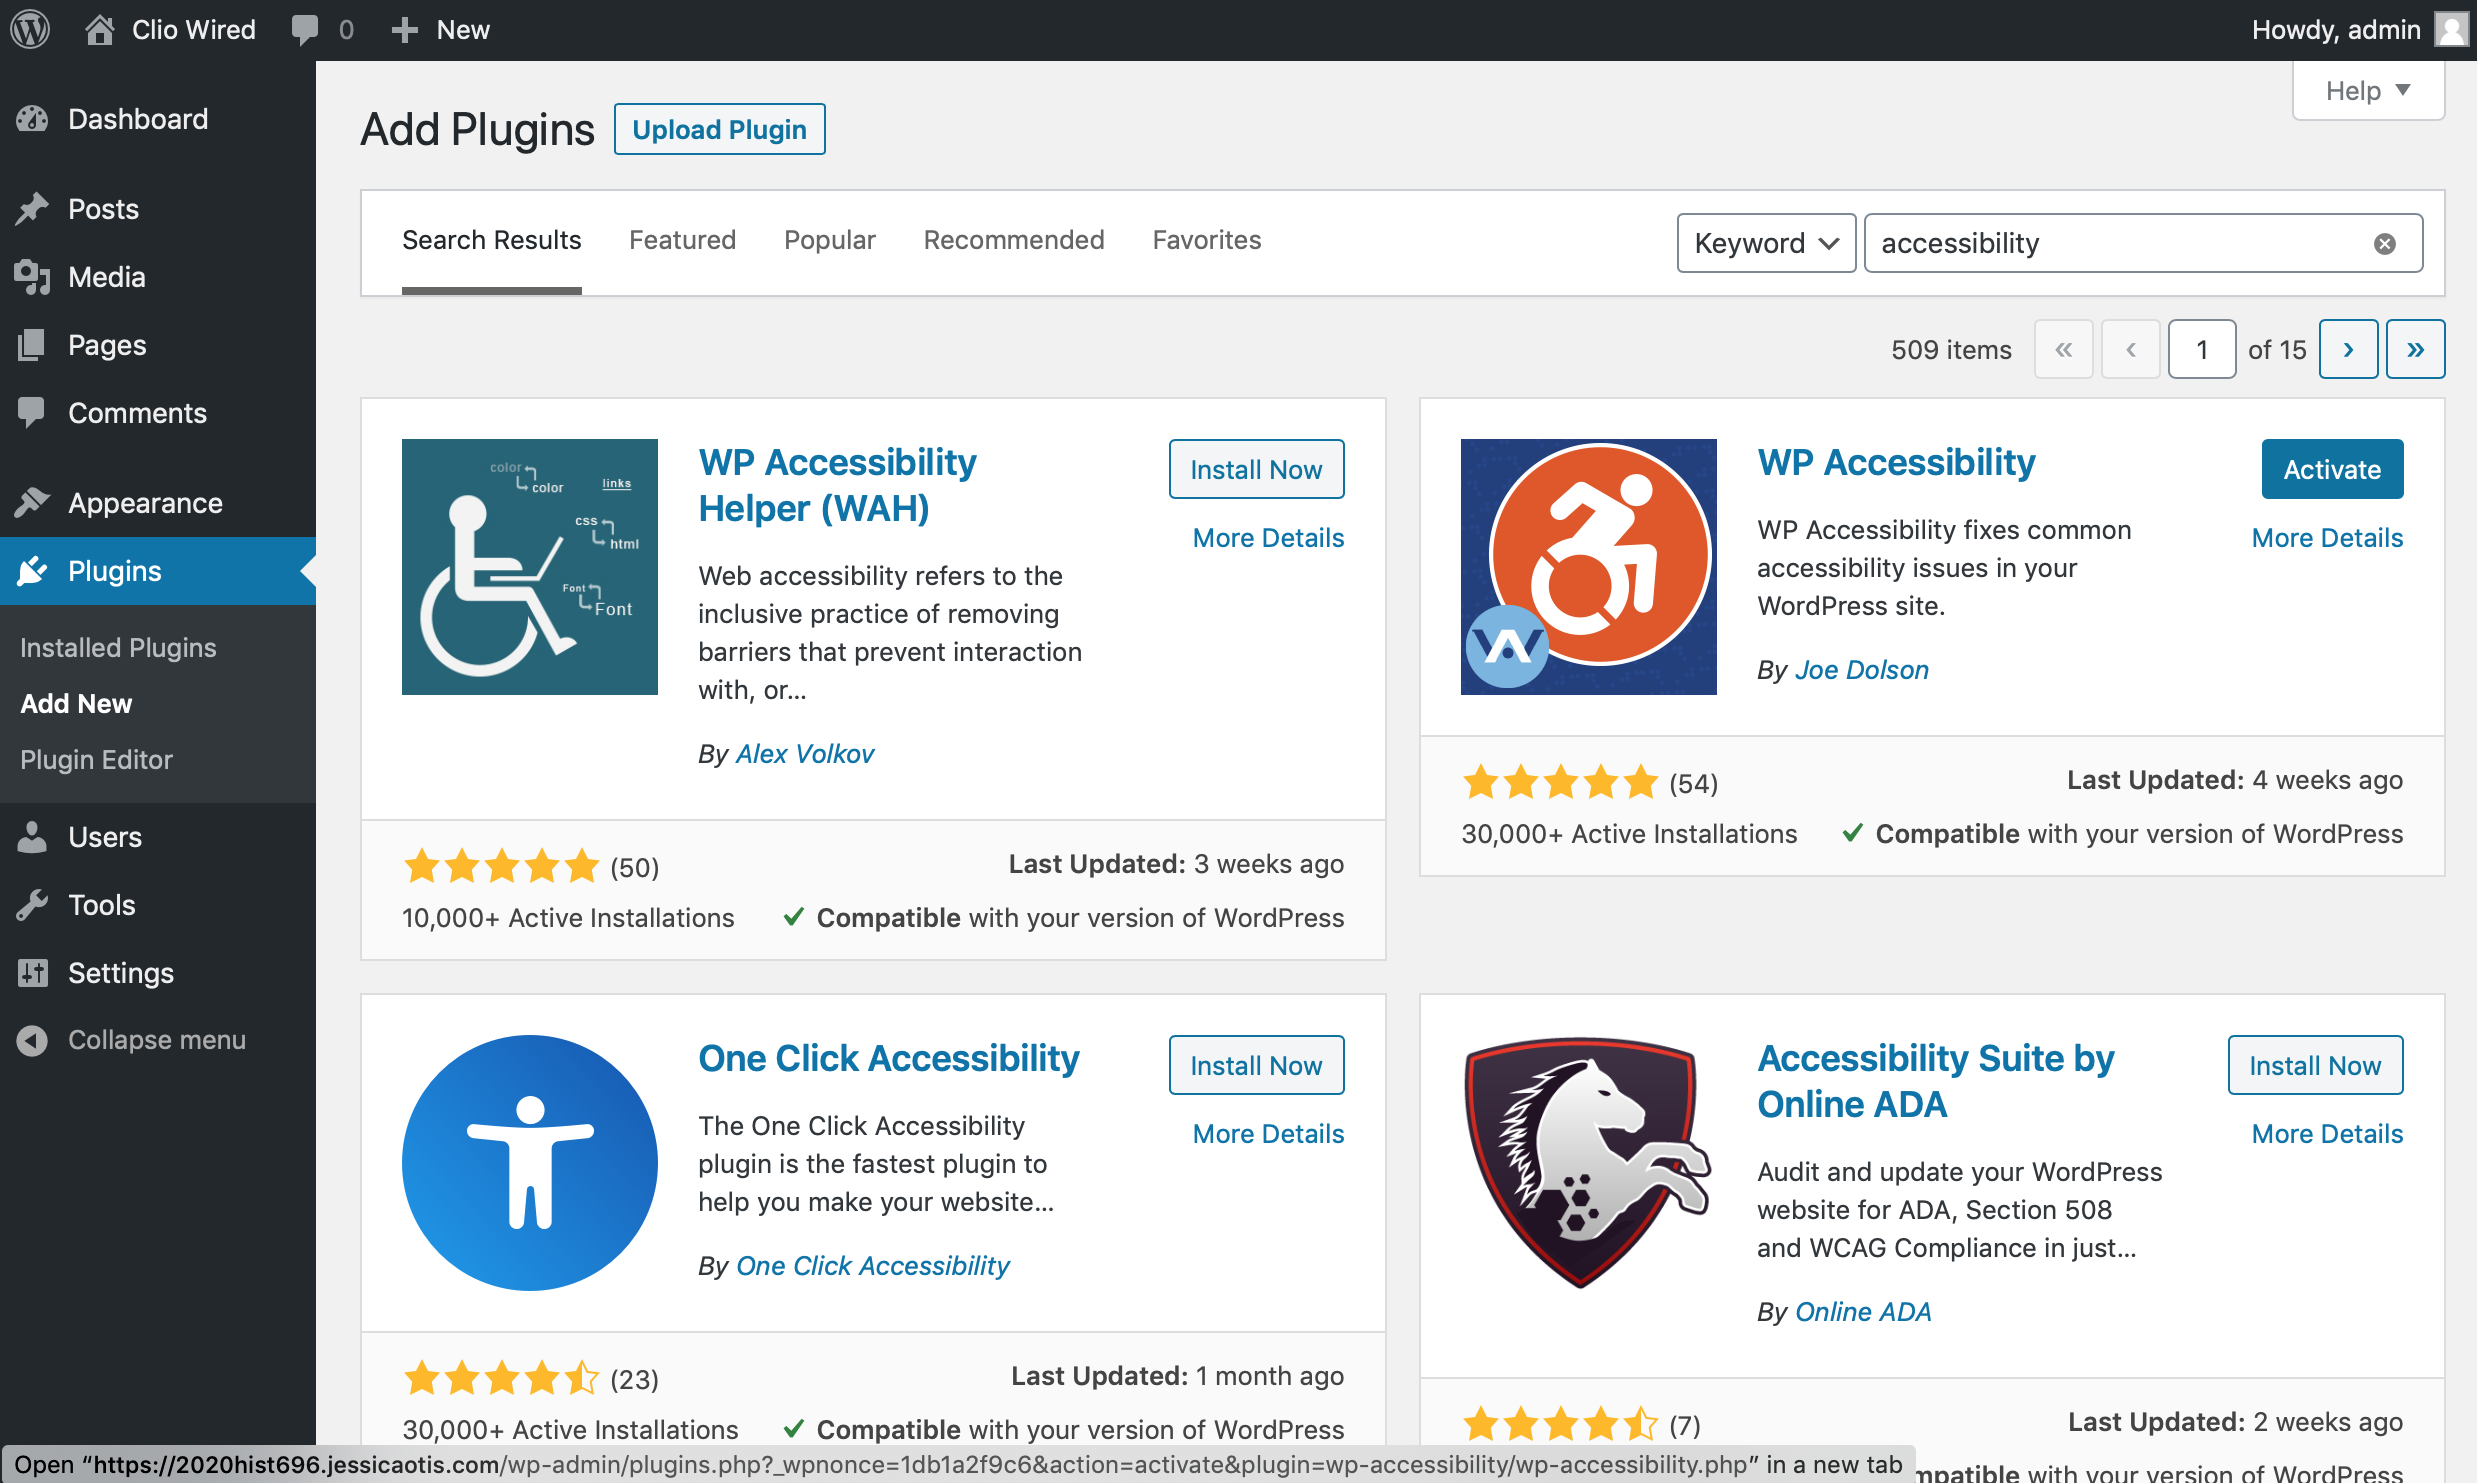
I recommend two plug-ins: WP Accessibility (pictured above) and iThemes Security Pro and WP Accessibility. The former will help you add a few key accessibility features to your site, including the “accessibility toolbar” that you see on my sites and lets you invert colors and change the font size. The latter will help you lock down the site and make it harder for hackers to crack. Think of it like locking the front door to your house at night – sure, it’s more important if you live in downtown New York City than if your nearest neighbors are a quarter mile away, but in the latter example it’s not a bad idea either.
When you find a plug-in, you need to first click the button that says “Install Now.” It will then change colors and text, and you will need to click it again to “Active” the plug-in. If you forget, you can always activate (or deactivate and delete) plug-ins using the Plugin menu on the sidebar.
Once you’ve installed a plug-in, try to click through all its settings and see what your options are now that you have it. I recommend adding the accessibility toolbar from WP Accessibility. On iThemes security, you can run a security check; add your current IP to a whitelist; immediately ban anyone who tries to log into your site with the username “admin”; require strong passwords; disable XML-RPC; require log-ins with email addresses; and more.
Maintaining Your Site
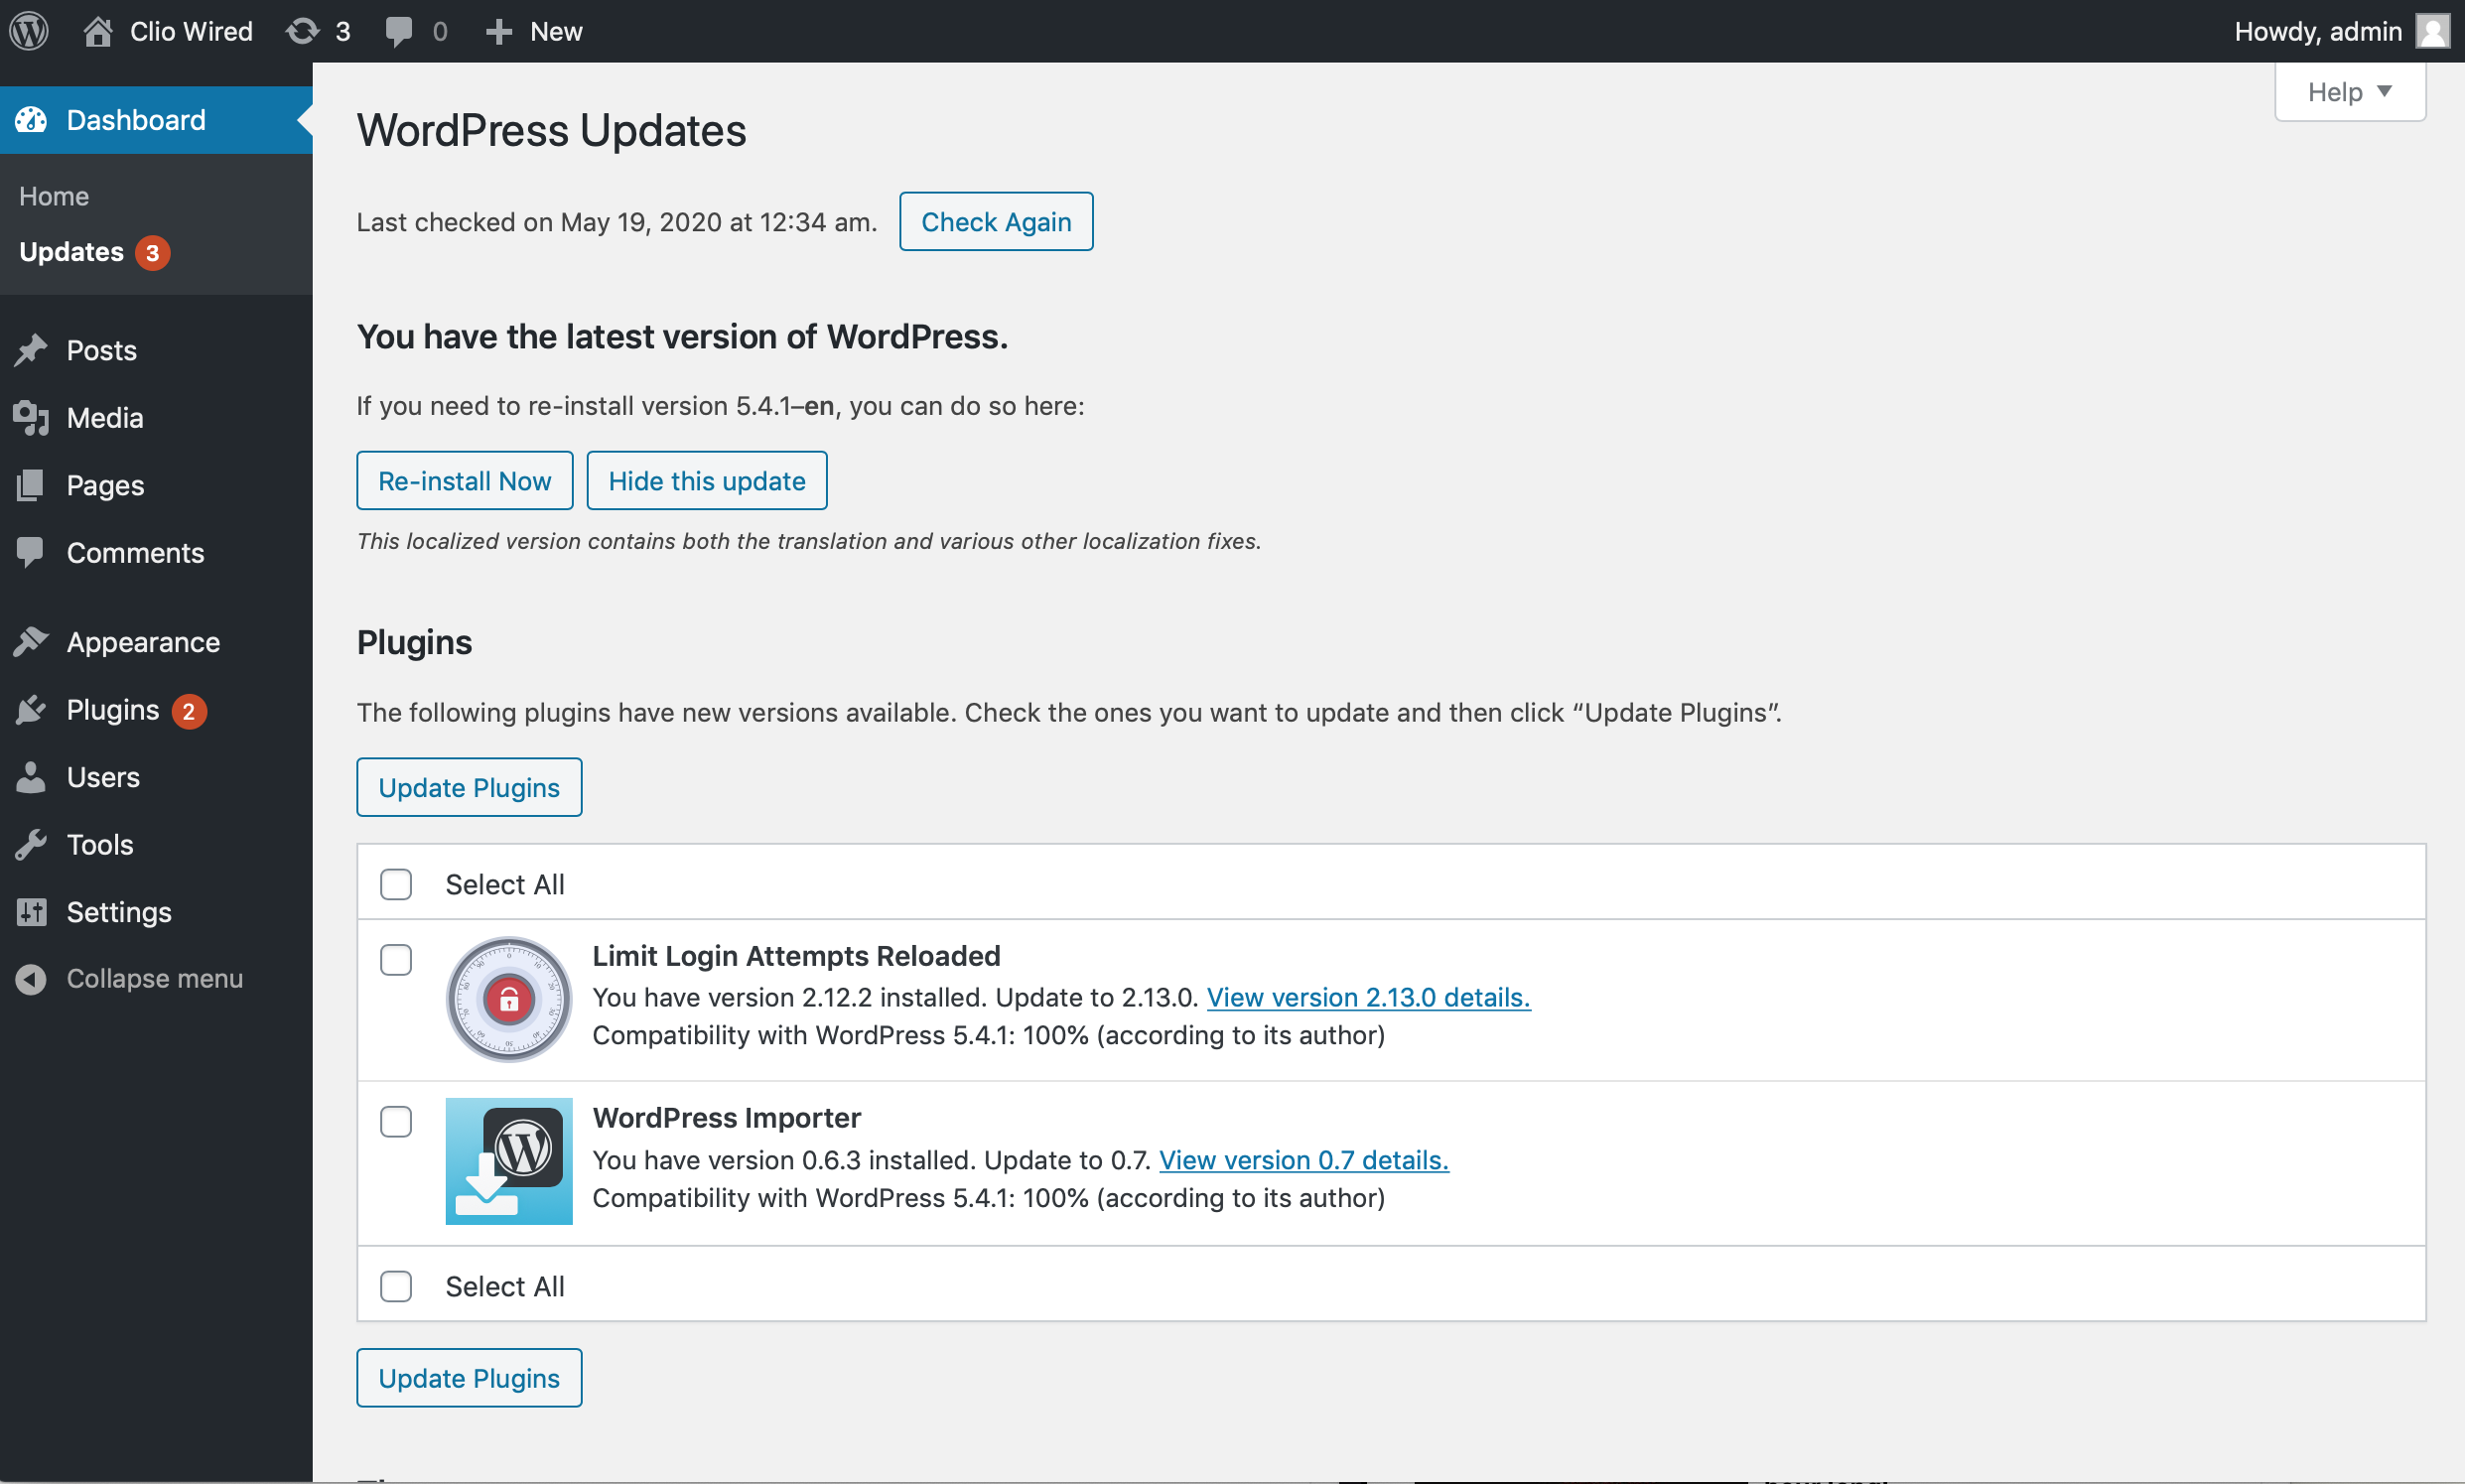
If you set up your site on Reclaim Hosting and allowed it to auto-update, or if you have a site hosted on WordPress.com, you will likely not have to do much manual updating of your site when a new version of WordPress, your theme, or your plug-ins is released. However, if you log into your site and have a red alert icon letting you know something needs to be updated, you can use the backend interface to do that.
Sometimes it’s tempting to not update something, especially if a new version of WordPress messes up your workflows (like the Gutenberg editor messed up mine before the Classic Editor plug-in was released) or breaks a theme or plug-in on your site. RESIST THIS TEMPTATION. If you’re using old versions of the software, you may have security vulnerabilities on your site that will allow it to be hacked.
If you’re hacked, don’t panic! Reclaim Hosting will automatically save a snapshot of your site every time it does a WordPress update so you probably have a recent-ish copy you can restore. You can also log in and set up auto-saving on a schedule or manually save a copy with Reclaim. Alternatively, there are WordPress plug-ins that will regularly save copies of your site for you, e.g. UpDraft Plus.
Another thing you should do to help keep your site updated and secure is to delete any themes or plug-ins you aren’t using. If it’s deactivated, you might as well delete it. The ONE exception to this is you should keep one of the default WordPress themes or it will whine at you about not having a backup should something happen to your installed theme.
If after the class ends, you really aren’t updating your site might anymore, but you don’t want to get rid of it either, consider flattening your website (there are a variety of WordPress plug-ins that could help you do this) to further secure your site. If there’s no database for someone to hack into, there’s much less mischief a hacker can get into on your site. This can be done in such a way that the original site still exists but isn’t publicly accessible, so you can do later updates with WordPress as needed then reflatten the site and republish it.